The Corinth Canal (Greek: Διώρυγα της Κορίνθου) connects the Gulf of Corinth in the west with the Saronic Gulf in the east, which flows in the Aegean Sea. The Canal cuts through the narrow strip of land, the Isthmus of Corinth that connects the Peloponnese peninsula and mainland Greece. The eastern harbor in the Saronic Gulf is called Isthmia while the western harbor is named Poseidonia, after the Olympian god of the Seas, Poseidon.
The Canal has been excavated at sea level, and thus there is no need for canal locks. It is 6.4 kilometers (4 mi) long, and 21.4 meters (70 ft) wide at its base. Construction for the modern Canal started in 1881 with completion in 1893. The Canal is crossed by a railway line, a road and a motorway at a height of about 45 meters (148 ft).
The Canal saves appr. 700-kilometre (430 mi) from circumnavigating the Peloponnese peninsula, and accommodates appr. 11,000 ship passages per annum. Ships can pass through the canal only one convoy at a time on a one-way system. Larger ships have to be towed by tugs. In October 2019, With over 900 passengers on board, the 22.5 meters (74 ft) wide and 195 meters (640 ft) long Fred.Olsen cruise ship successfully traversed the canal to set a new record for longest ship to pass through the Canal.
The Corinth Canal is managed today by the Ανώνυμη Εταιρεία Διώρυγας Κορίνθου (Α.Ε.ΔΙ.Κ) (Société Anonyme of the Corinth Canal), and we are grateful to the Canal’s management for the invitation to visit the Canal and its premises and cross the Canal onboard a tug towing a small bulker for the crossing.
History
The construction of the Canal was initially conceived as early as in the 7th century BC by the tyrant of Corinth Periander but the idea was soon abandoned. Instead, Periander constructed a simpler and less costly overland portage road, named the Diolkos or stone carriageway, along which ships could be towed from one side of the isthmus to the other. While Diadoch Demetrius Poliorcetes (336–283 BC) and the Roman Emperors Julius Caesar (100 – 44 BC) and Caligula (12 – 41 AD) considered the construction of the Canal, it was the Roman Emperor Nero (37 – 68 AD) to first physically attempt to construct the canal, personally breaking the ground with a pickaxe and removing the first basket-load of soil in 67 AD; the Canal was dug to a distance of four stades – approximately 700 meters (2,300 ft) by a workforce of 6,000 Jewish prisoners of war – along the course of today’s Canal. The project was abandoned soon after Nero’s death. A memorial of the attempt in the form of a relief of Hercules was left by Nero’s workers and can still be seen in the canal cutting today.
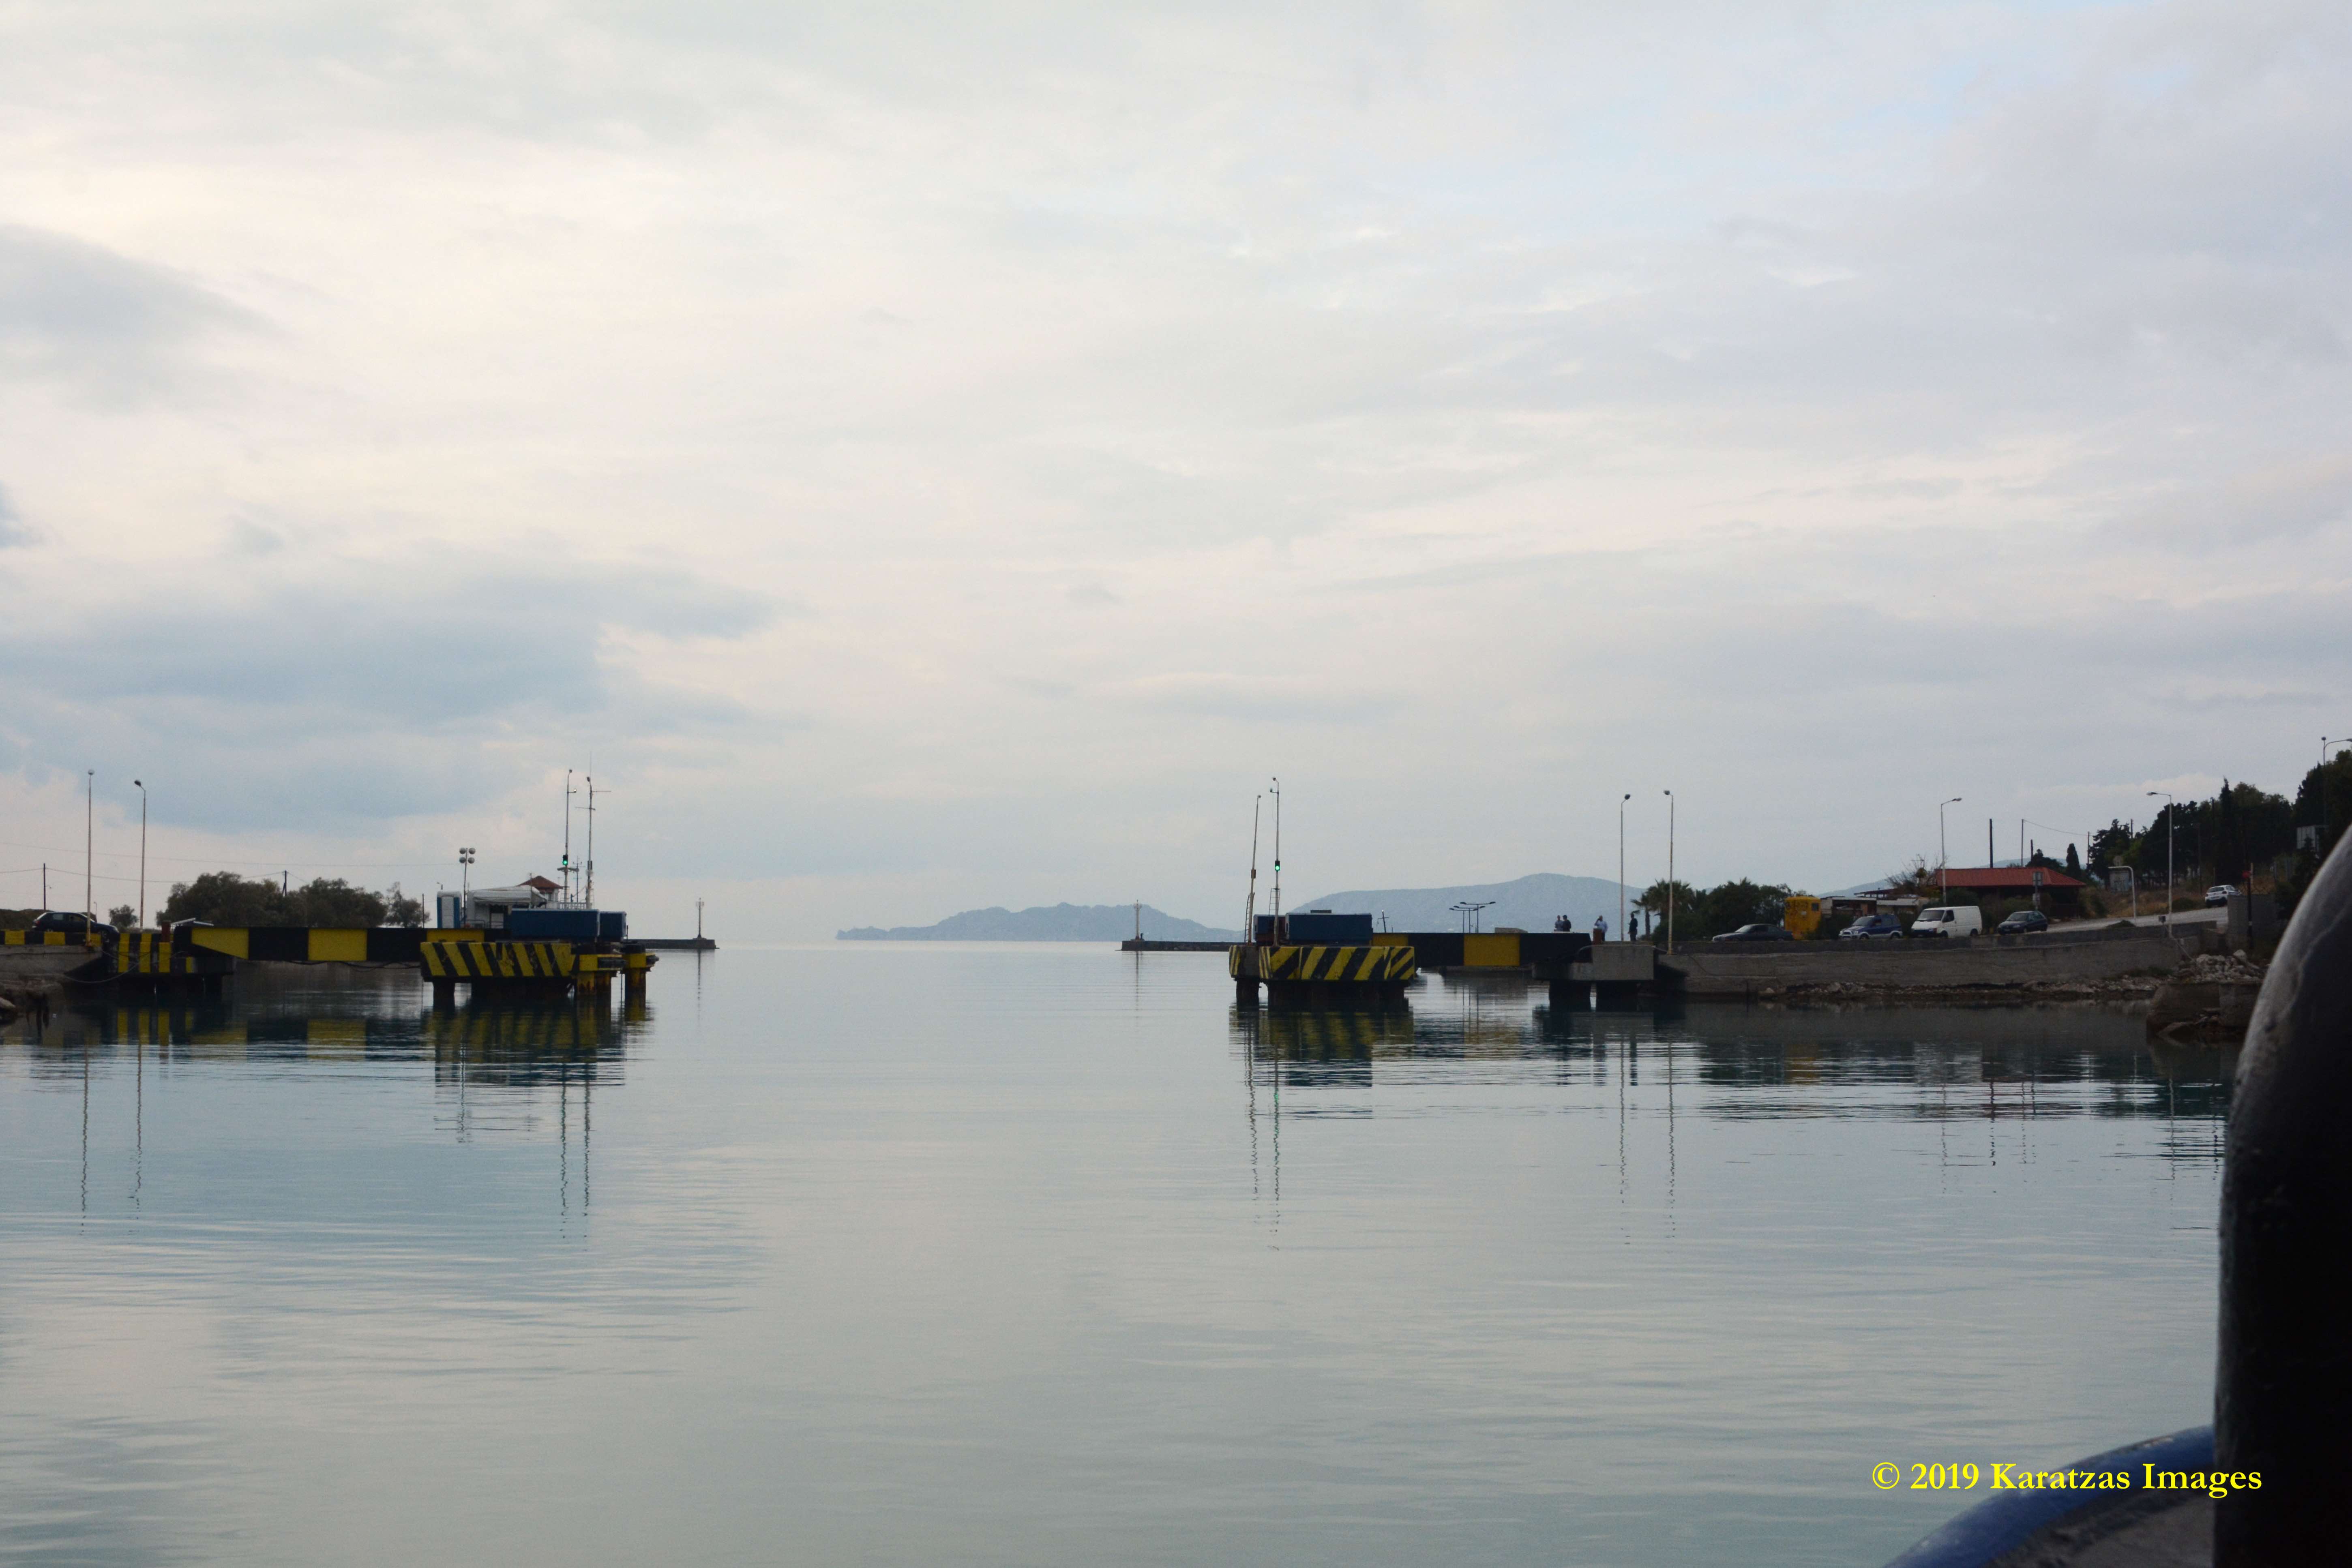
View from the Gulf of Corinth facing the harbor of Poseidonia, on the west end of the Corinth Canal. Image credit: Karatzas Images
A small dry bulk vessel is towed westbound by one of the Canal’s tugs. Seen here exiting the Canal. Image credit: Karatzas Images
A small dry bulk vessel is towed westbound by one of the Canal’s tugs. Image credit: Karatzas Images
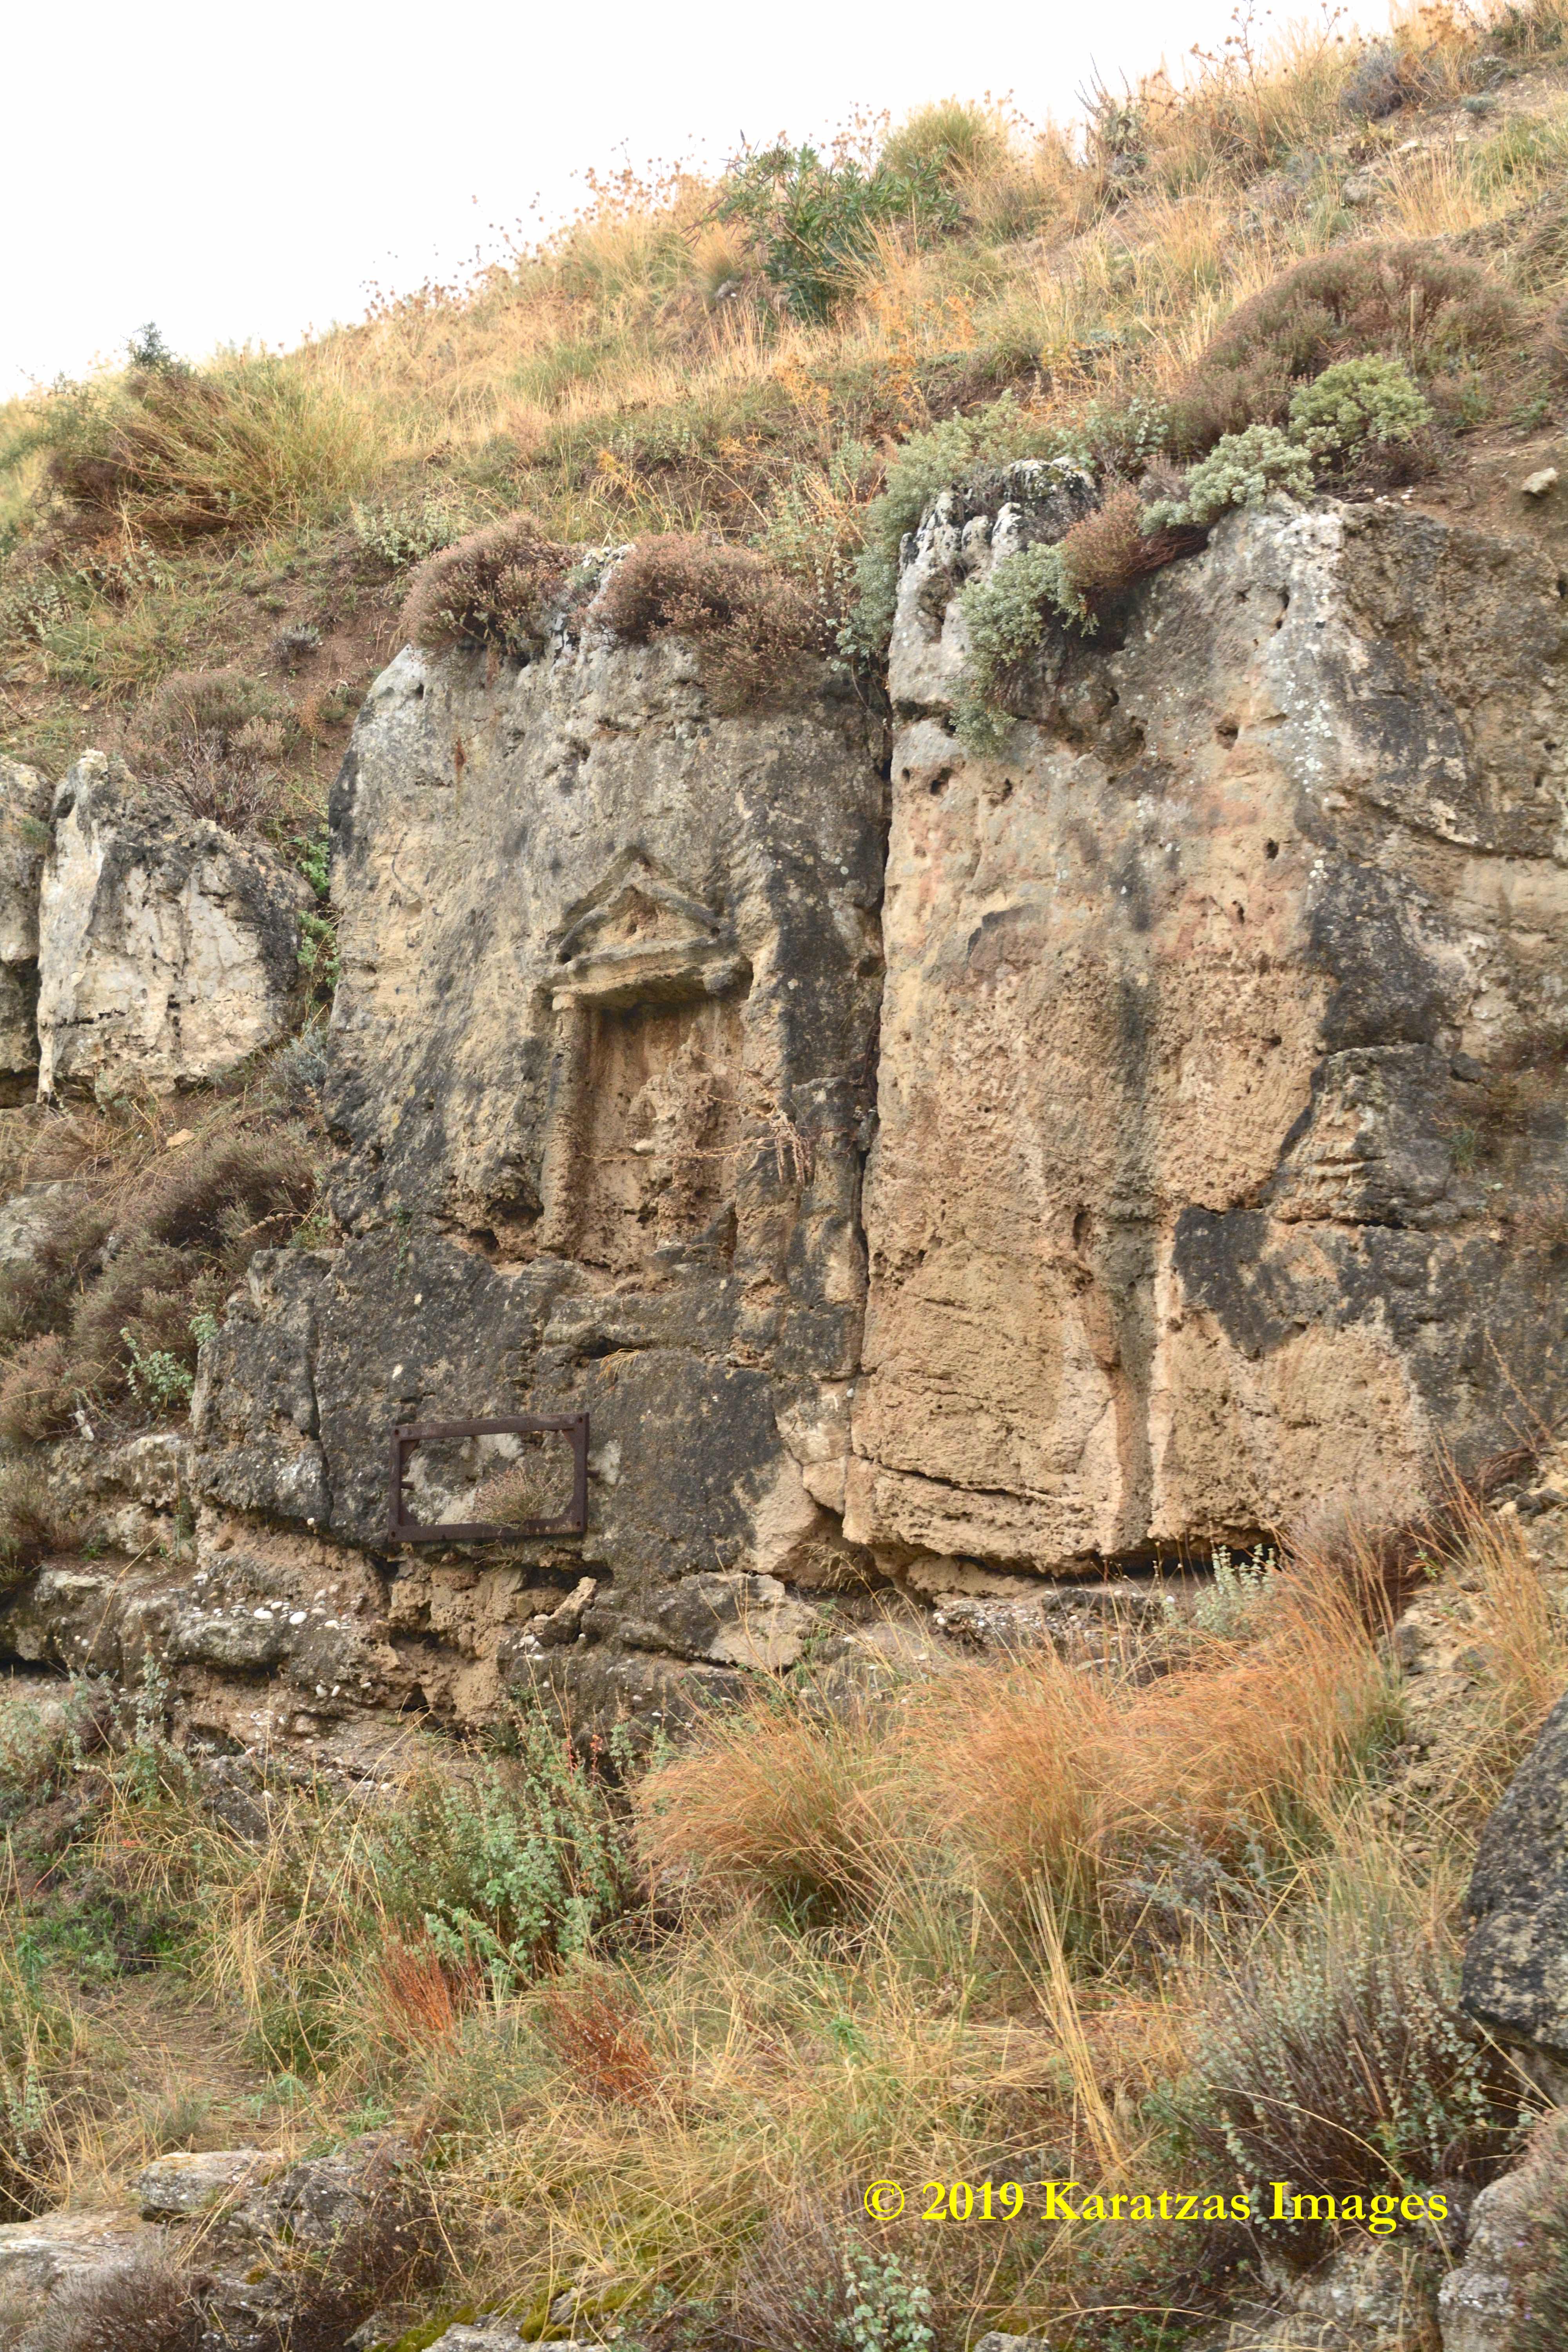
The Roman Emperor Nero was the first to physically attempt digging the Corinth Canal in 67 AD. He died shortly after commencing engineering preparations and excavation operations, but a relief on the rock by the Poseidonia end of the Canal memorializes the vision for future generations and eternity. Image credit: Karatzas Images
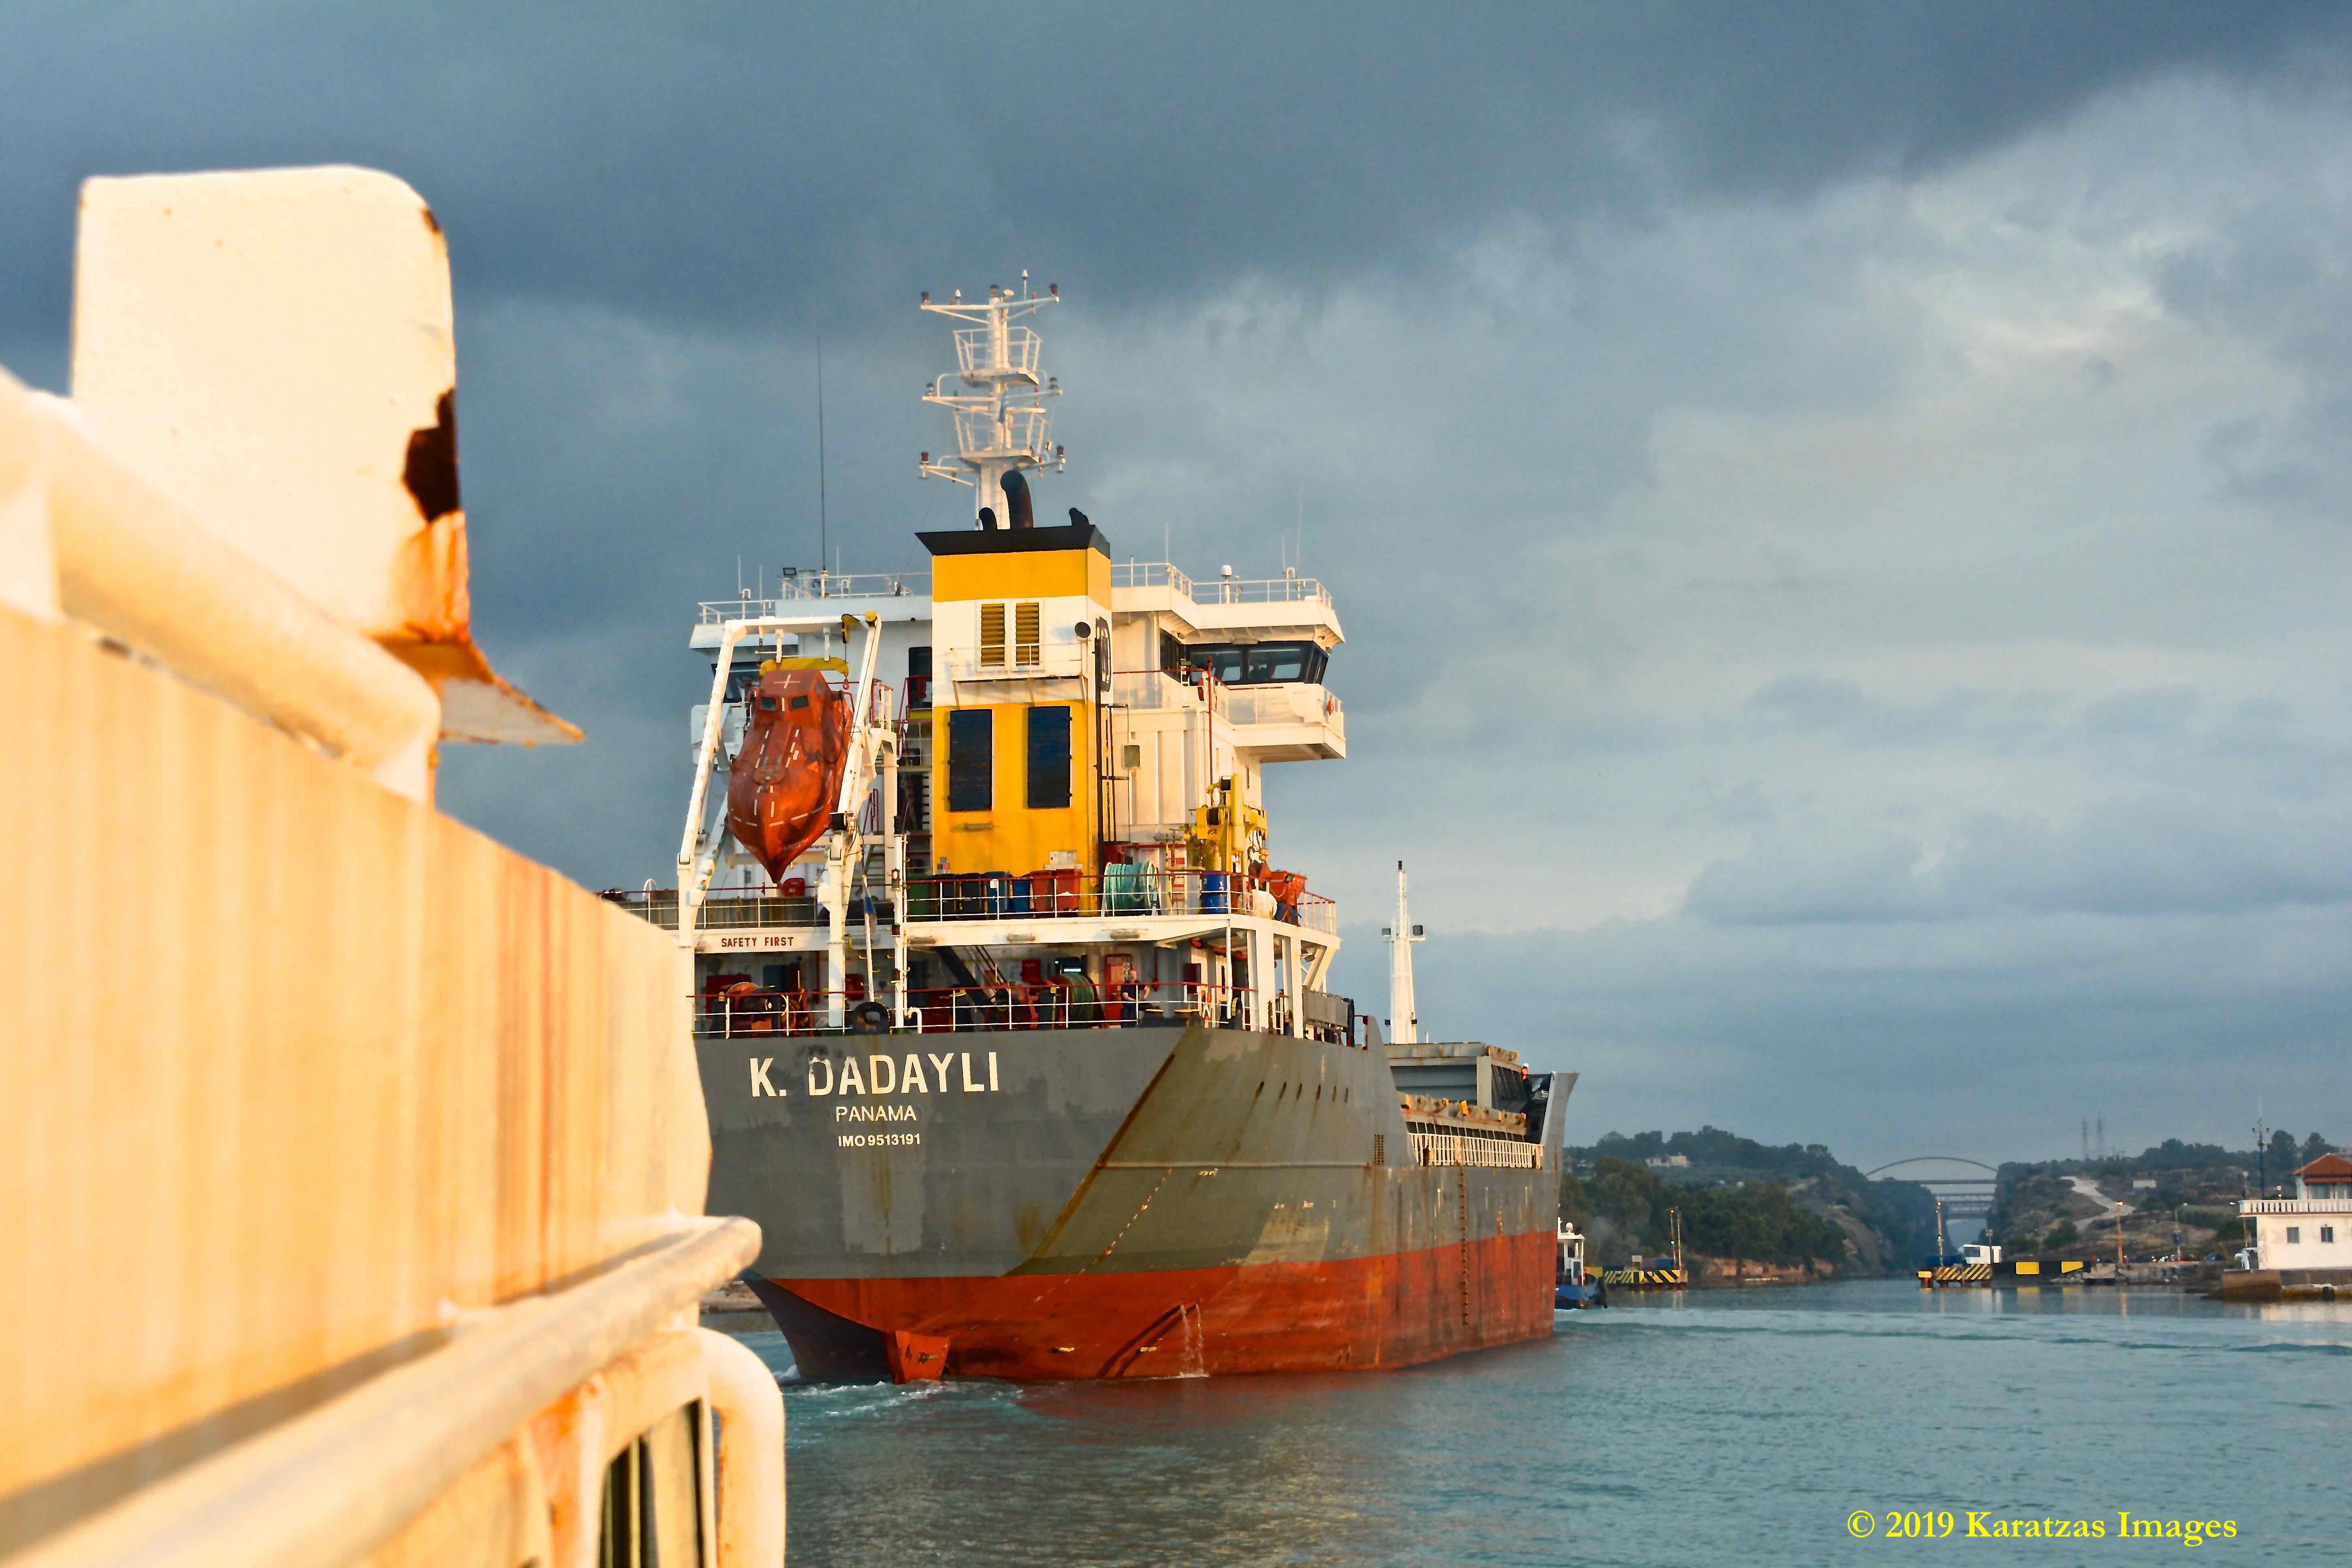
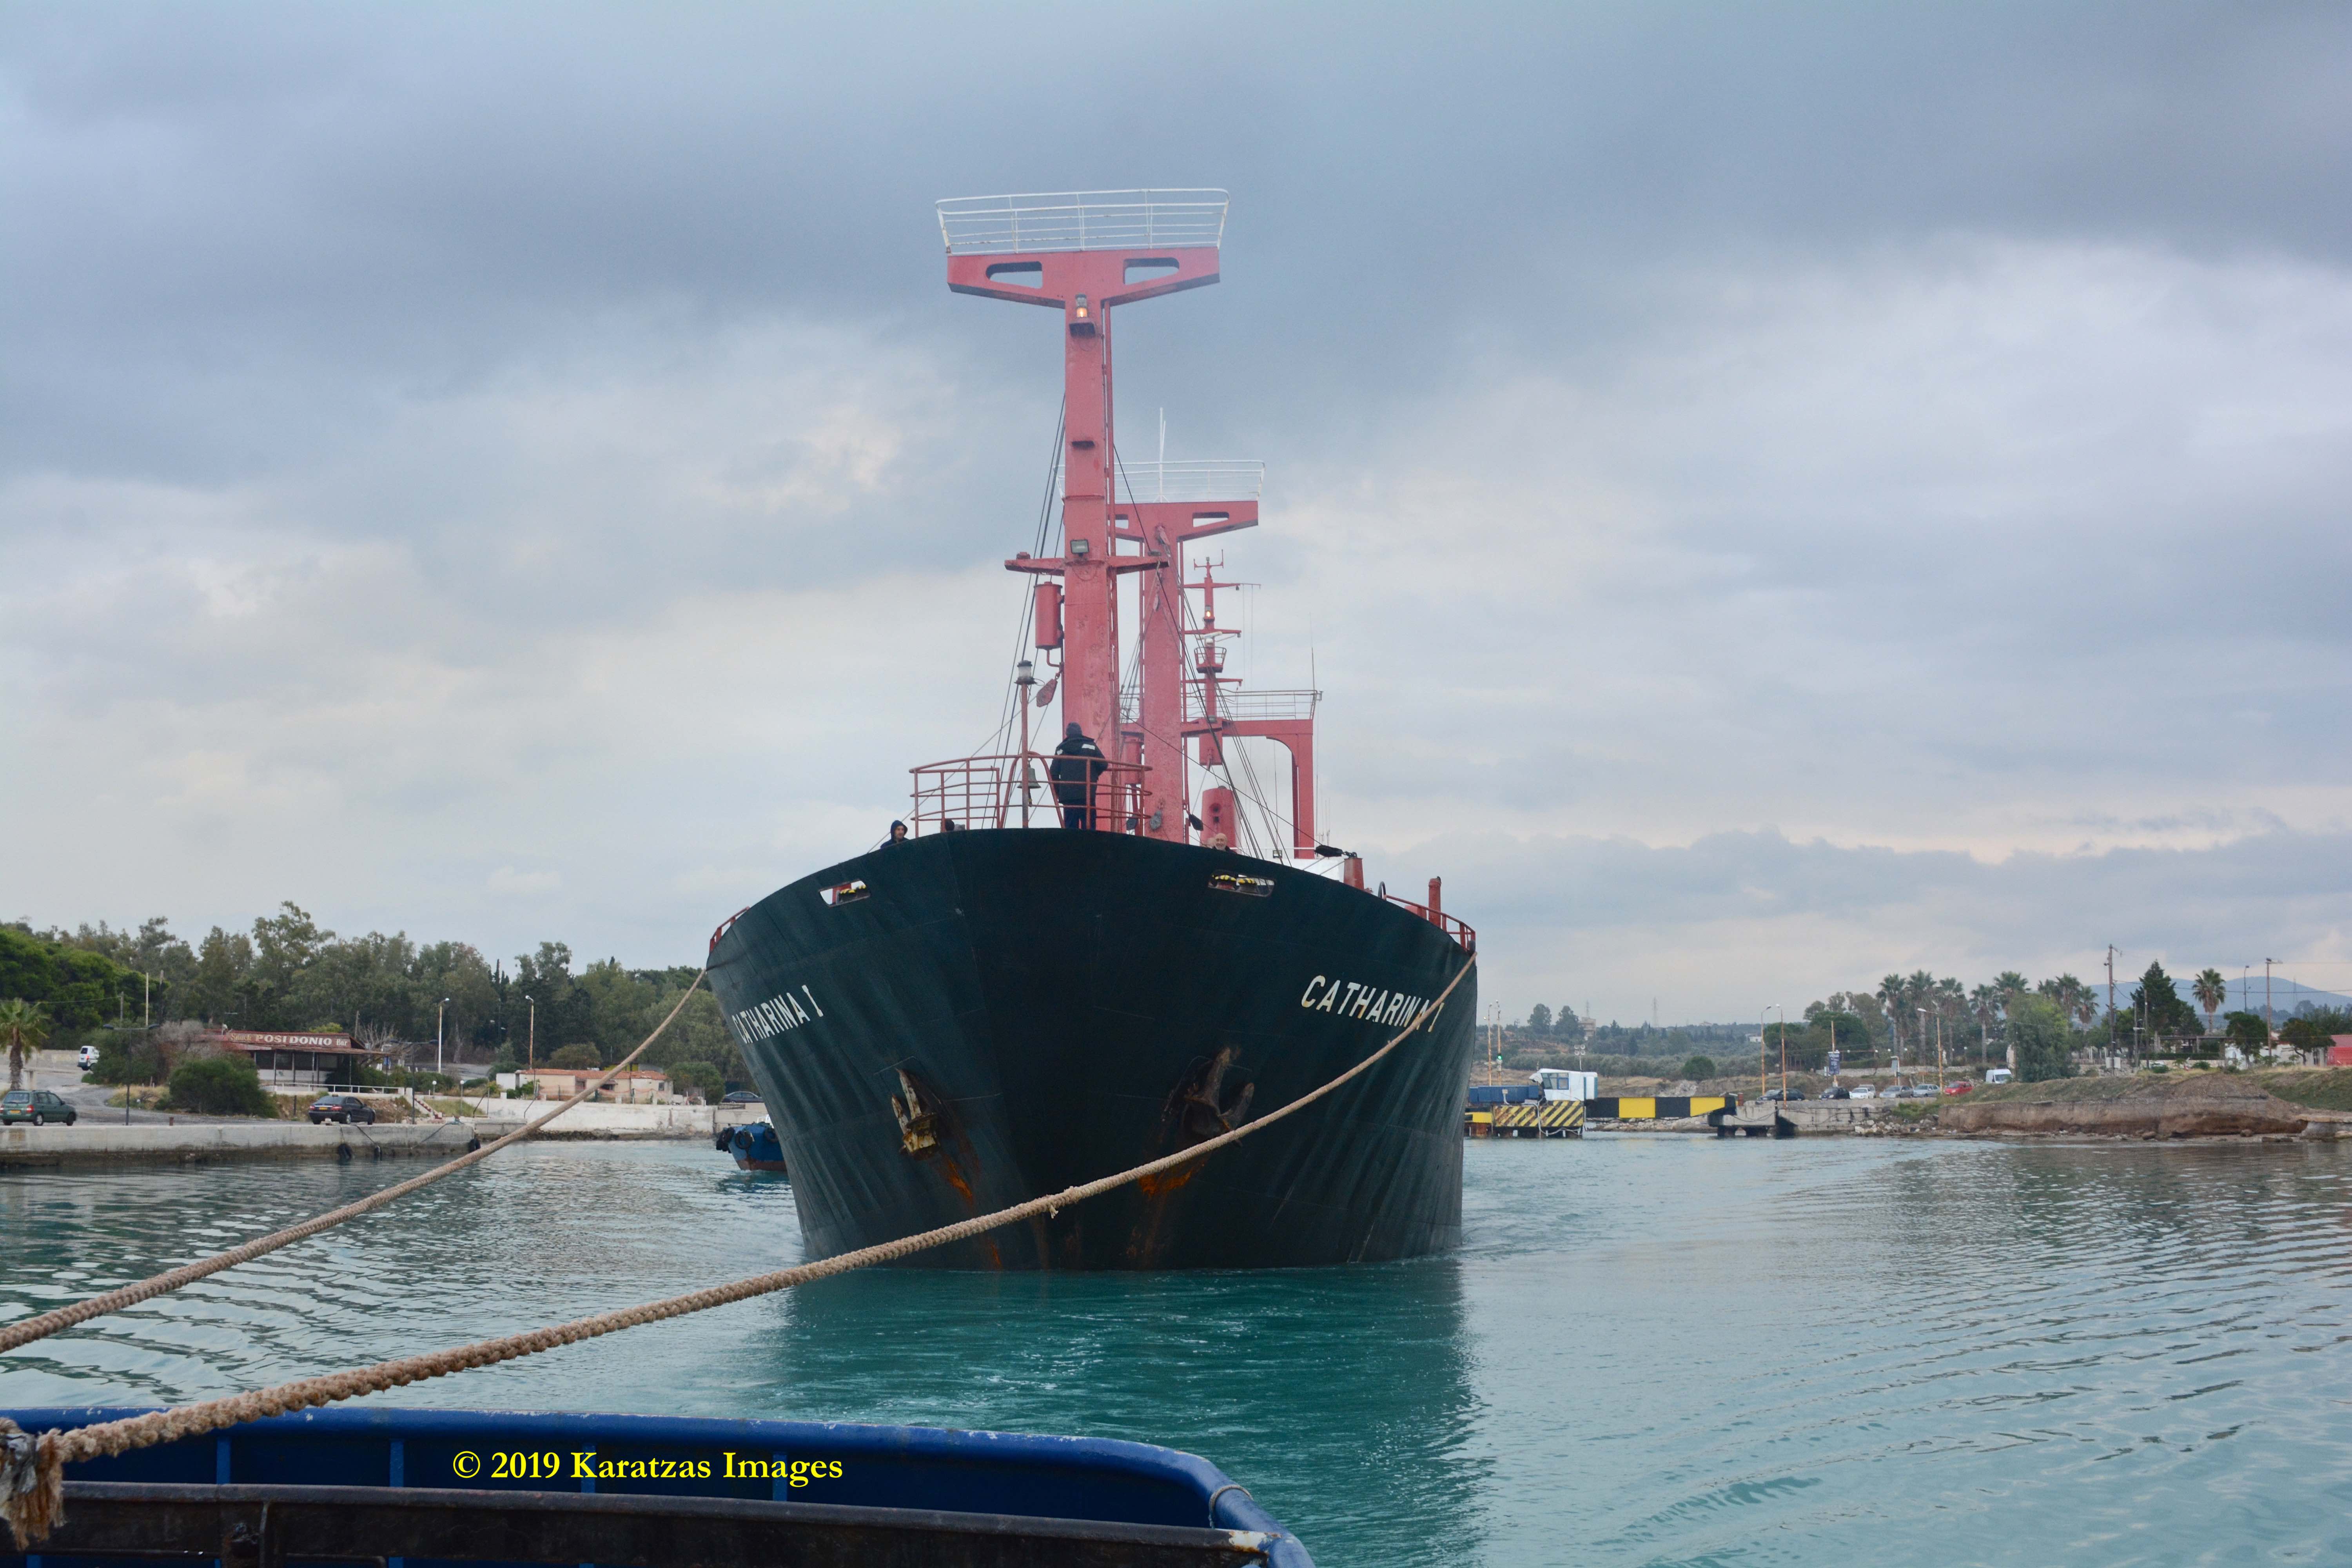
A drybuk vessel approaching the Poseidonia end of the Corinth Canal (seen in the background) for its eastbound crossing. Image credit: Karatzas Images
A drybuk vessel approaching the Poseidonia end of the Corinth Canal (seen in the background) for its eastbound crossing. Image credit: Karatzas Images
A drybuk vessel approaching the Poseidonia end of the Corinth Canal (seen in the background) for its eastbound crossing. Image credit: Karatzas Images
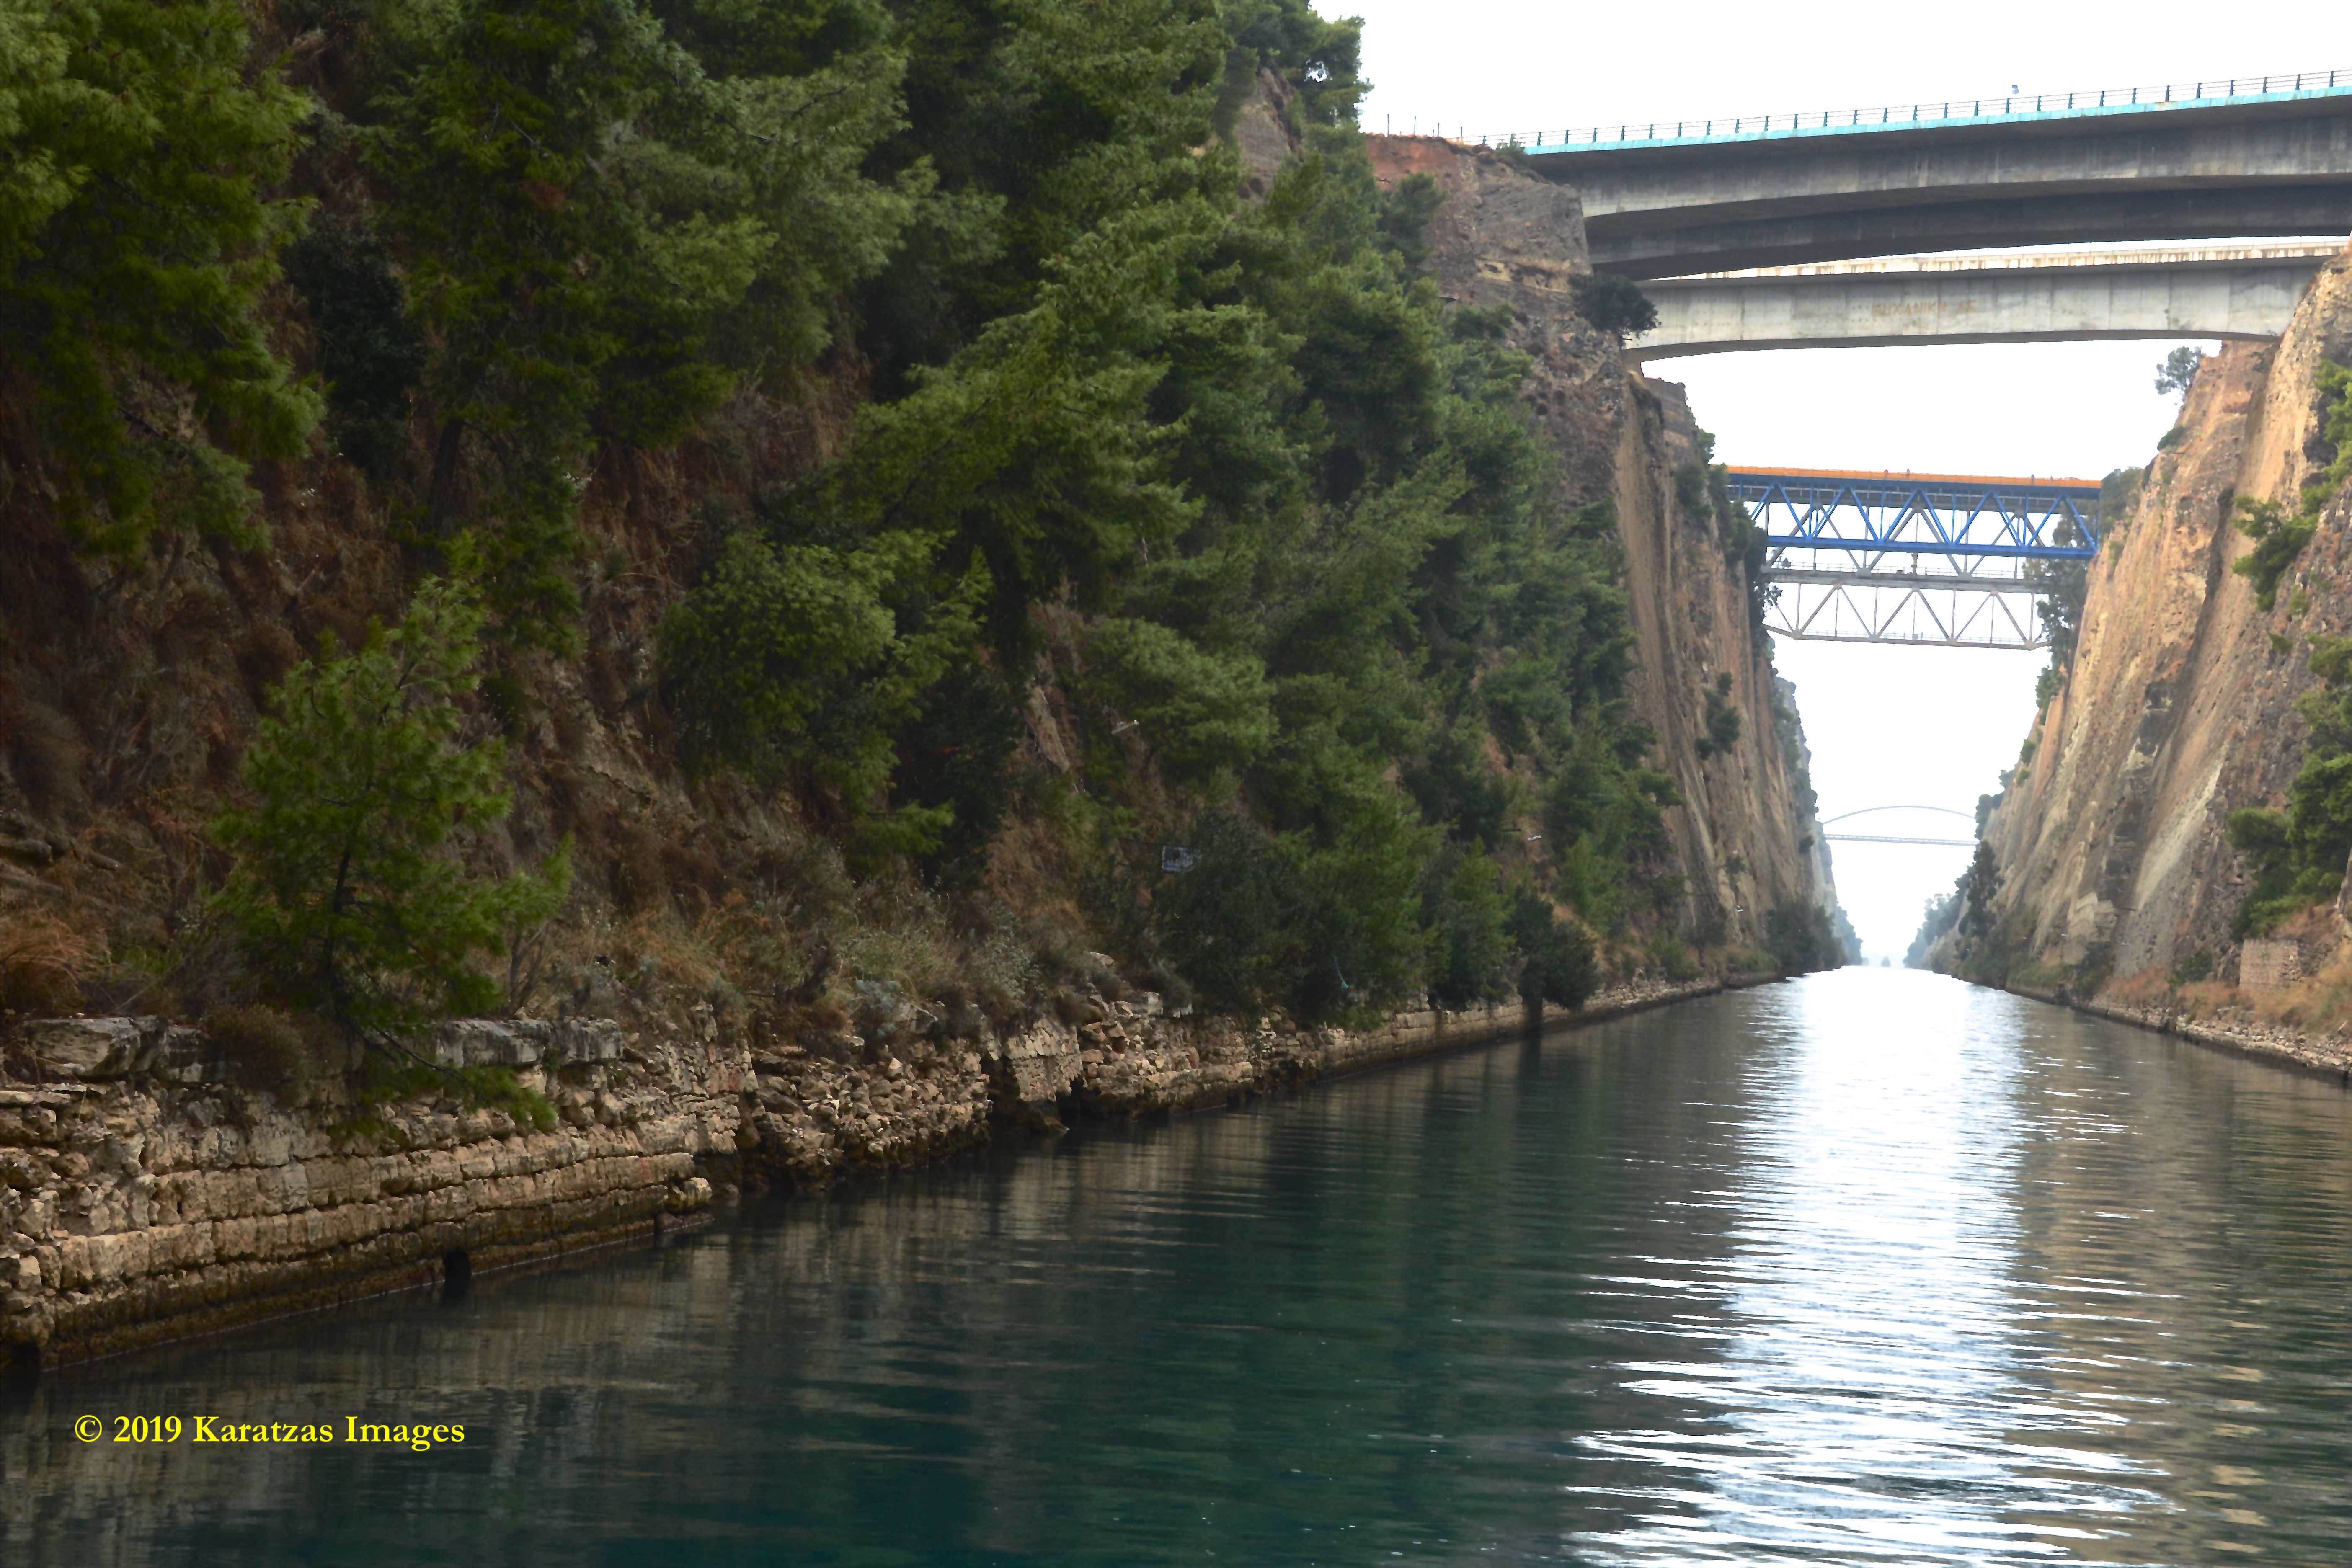
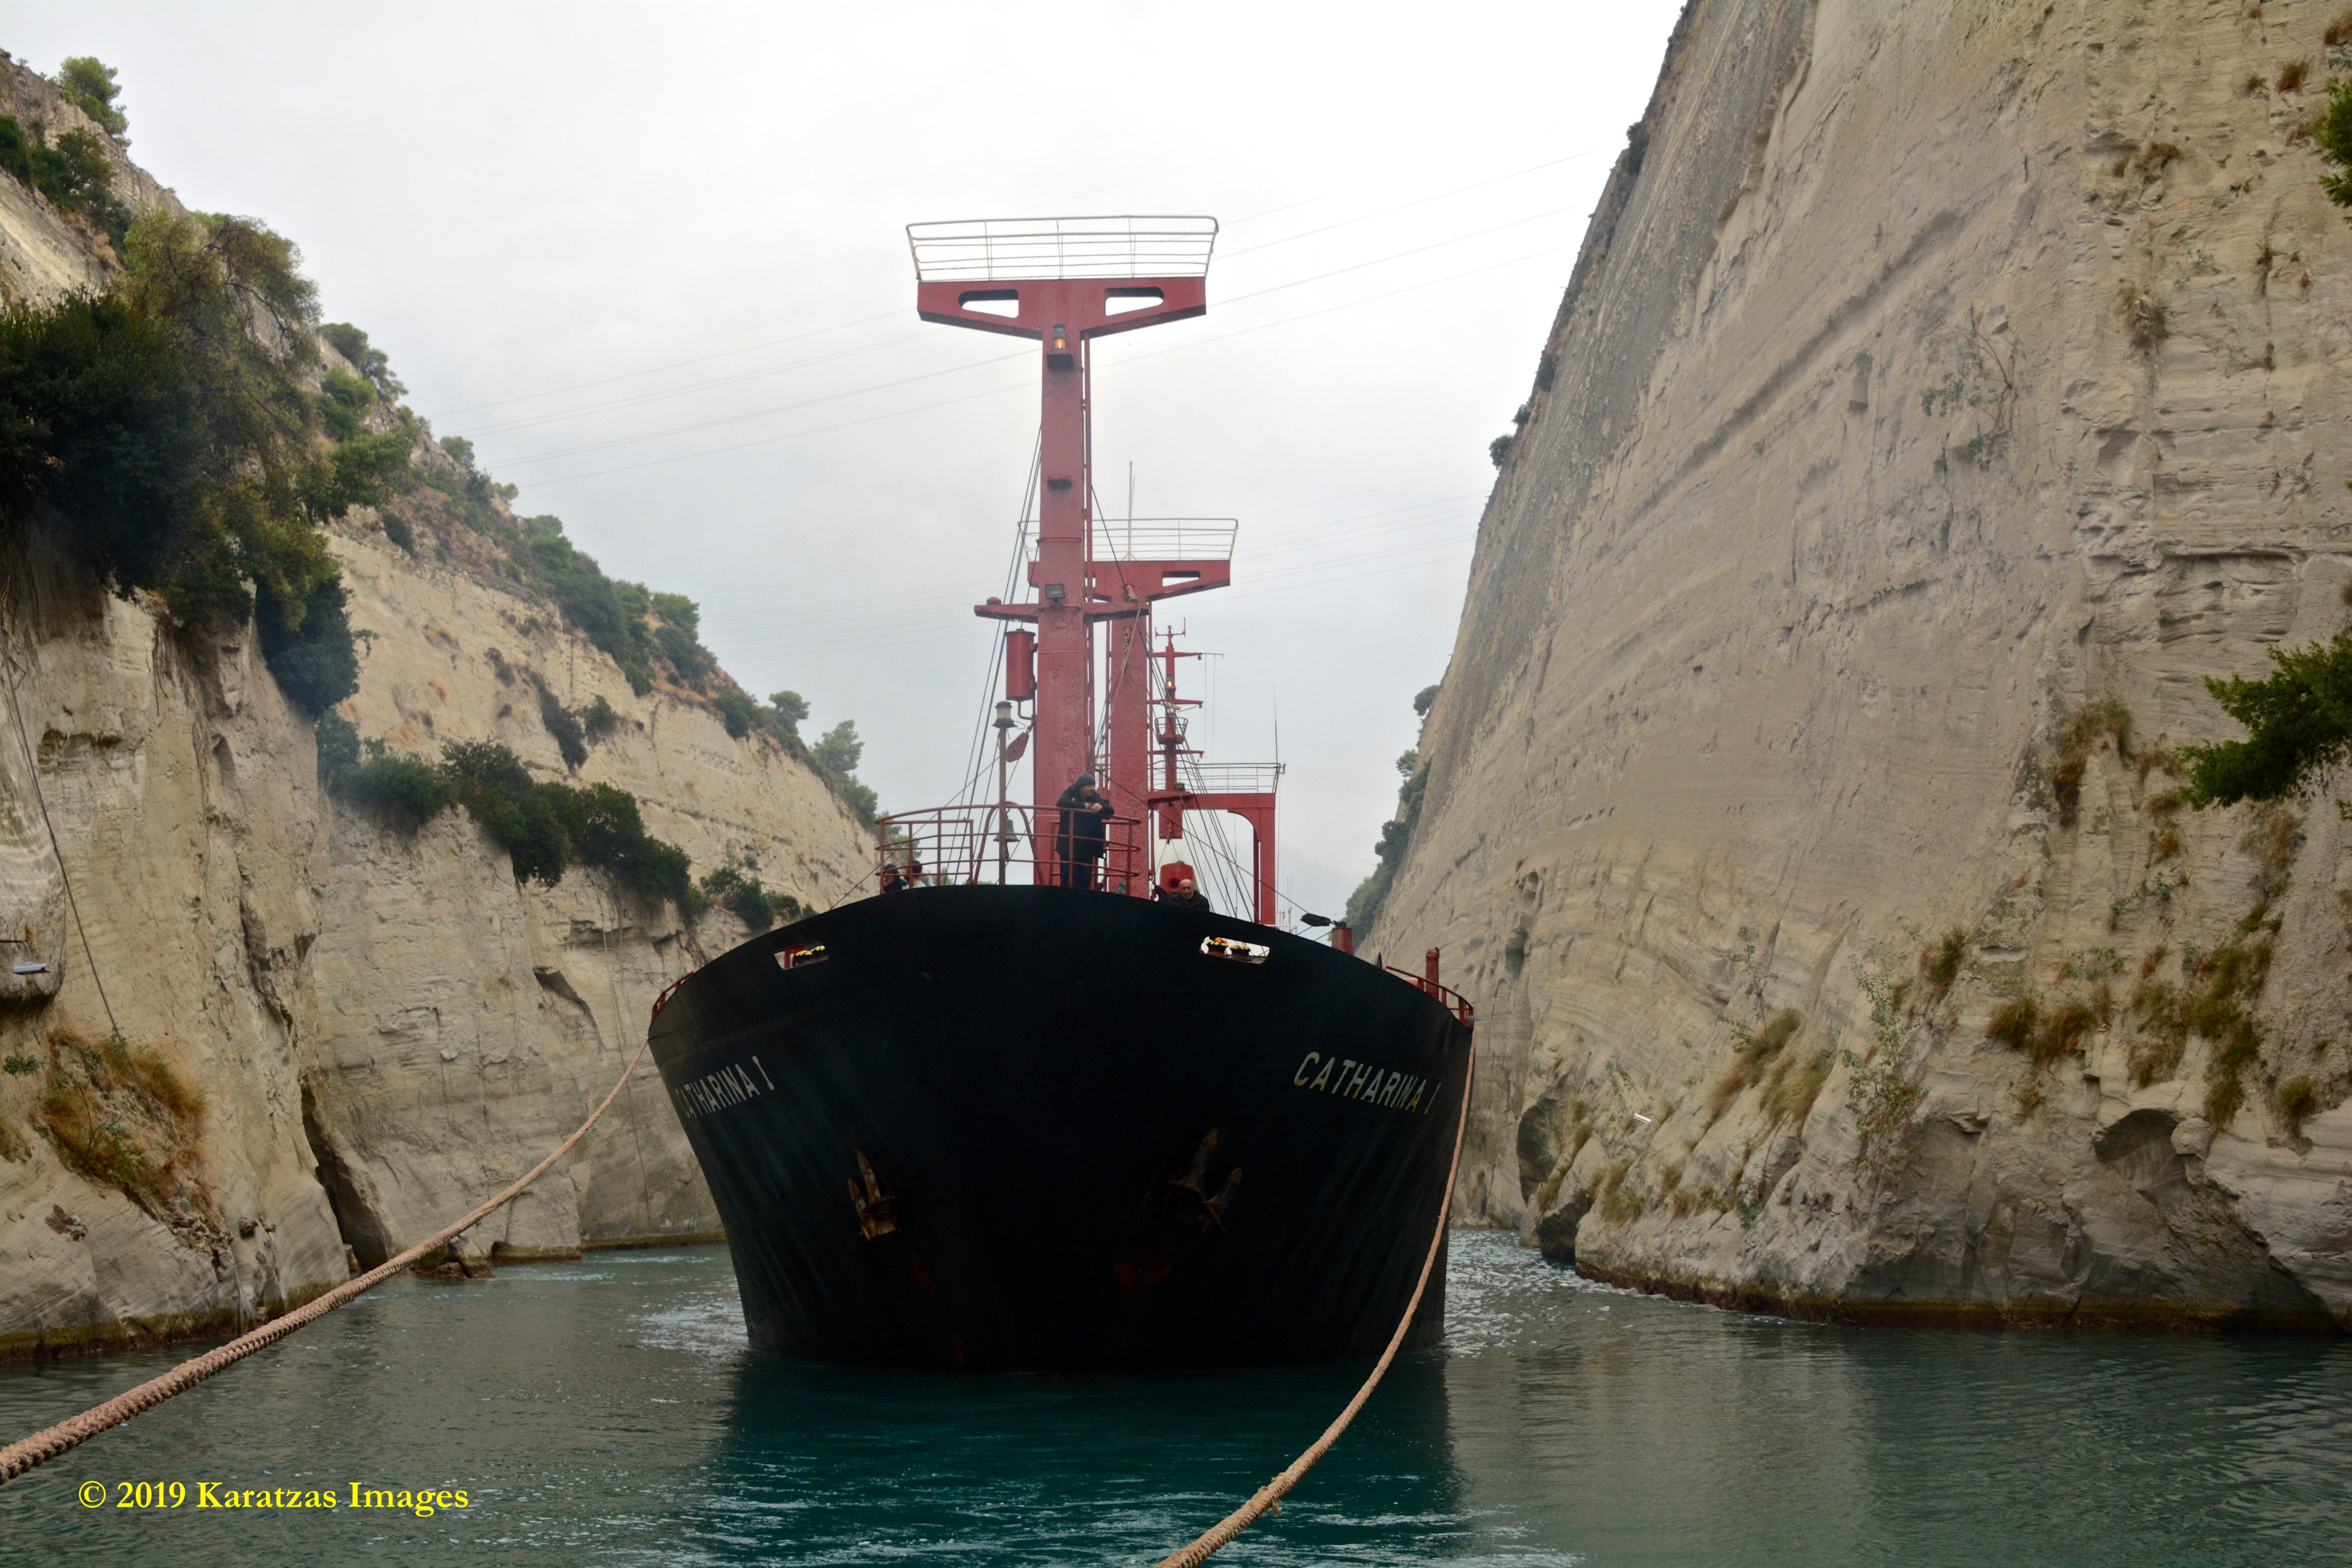
Crossing westbound the Corinth Canal with the railway and motorway crossings clearly visible overhead. Image credit: Karatzas Images
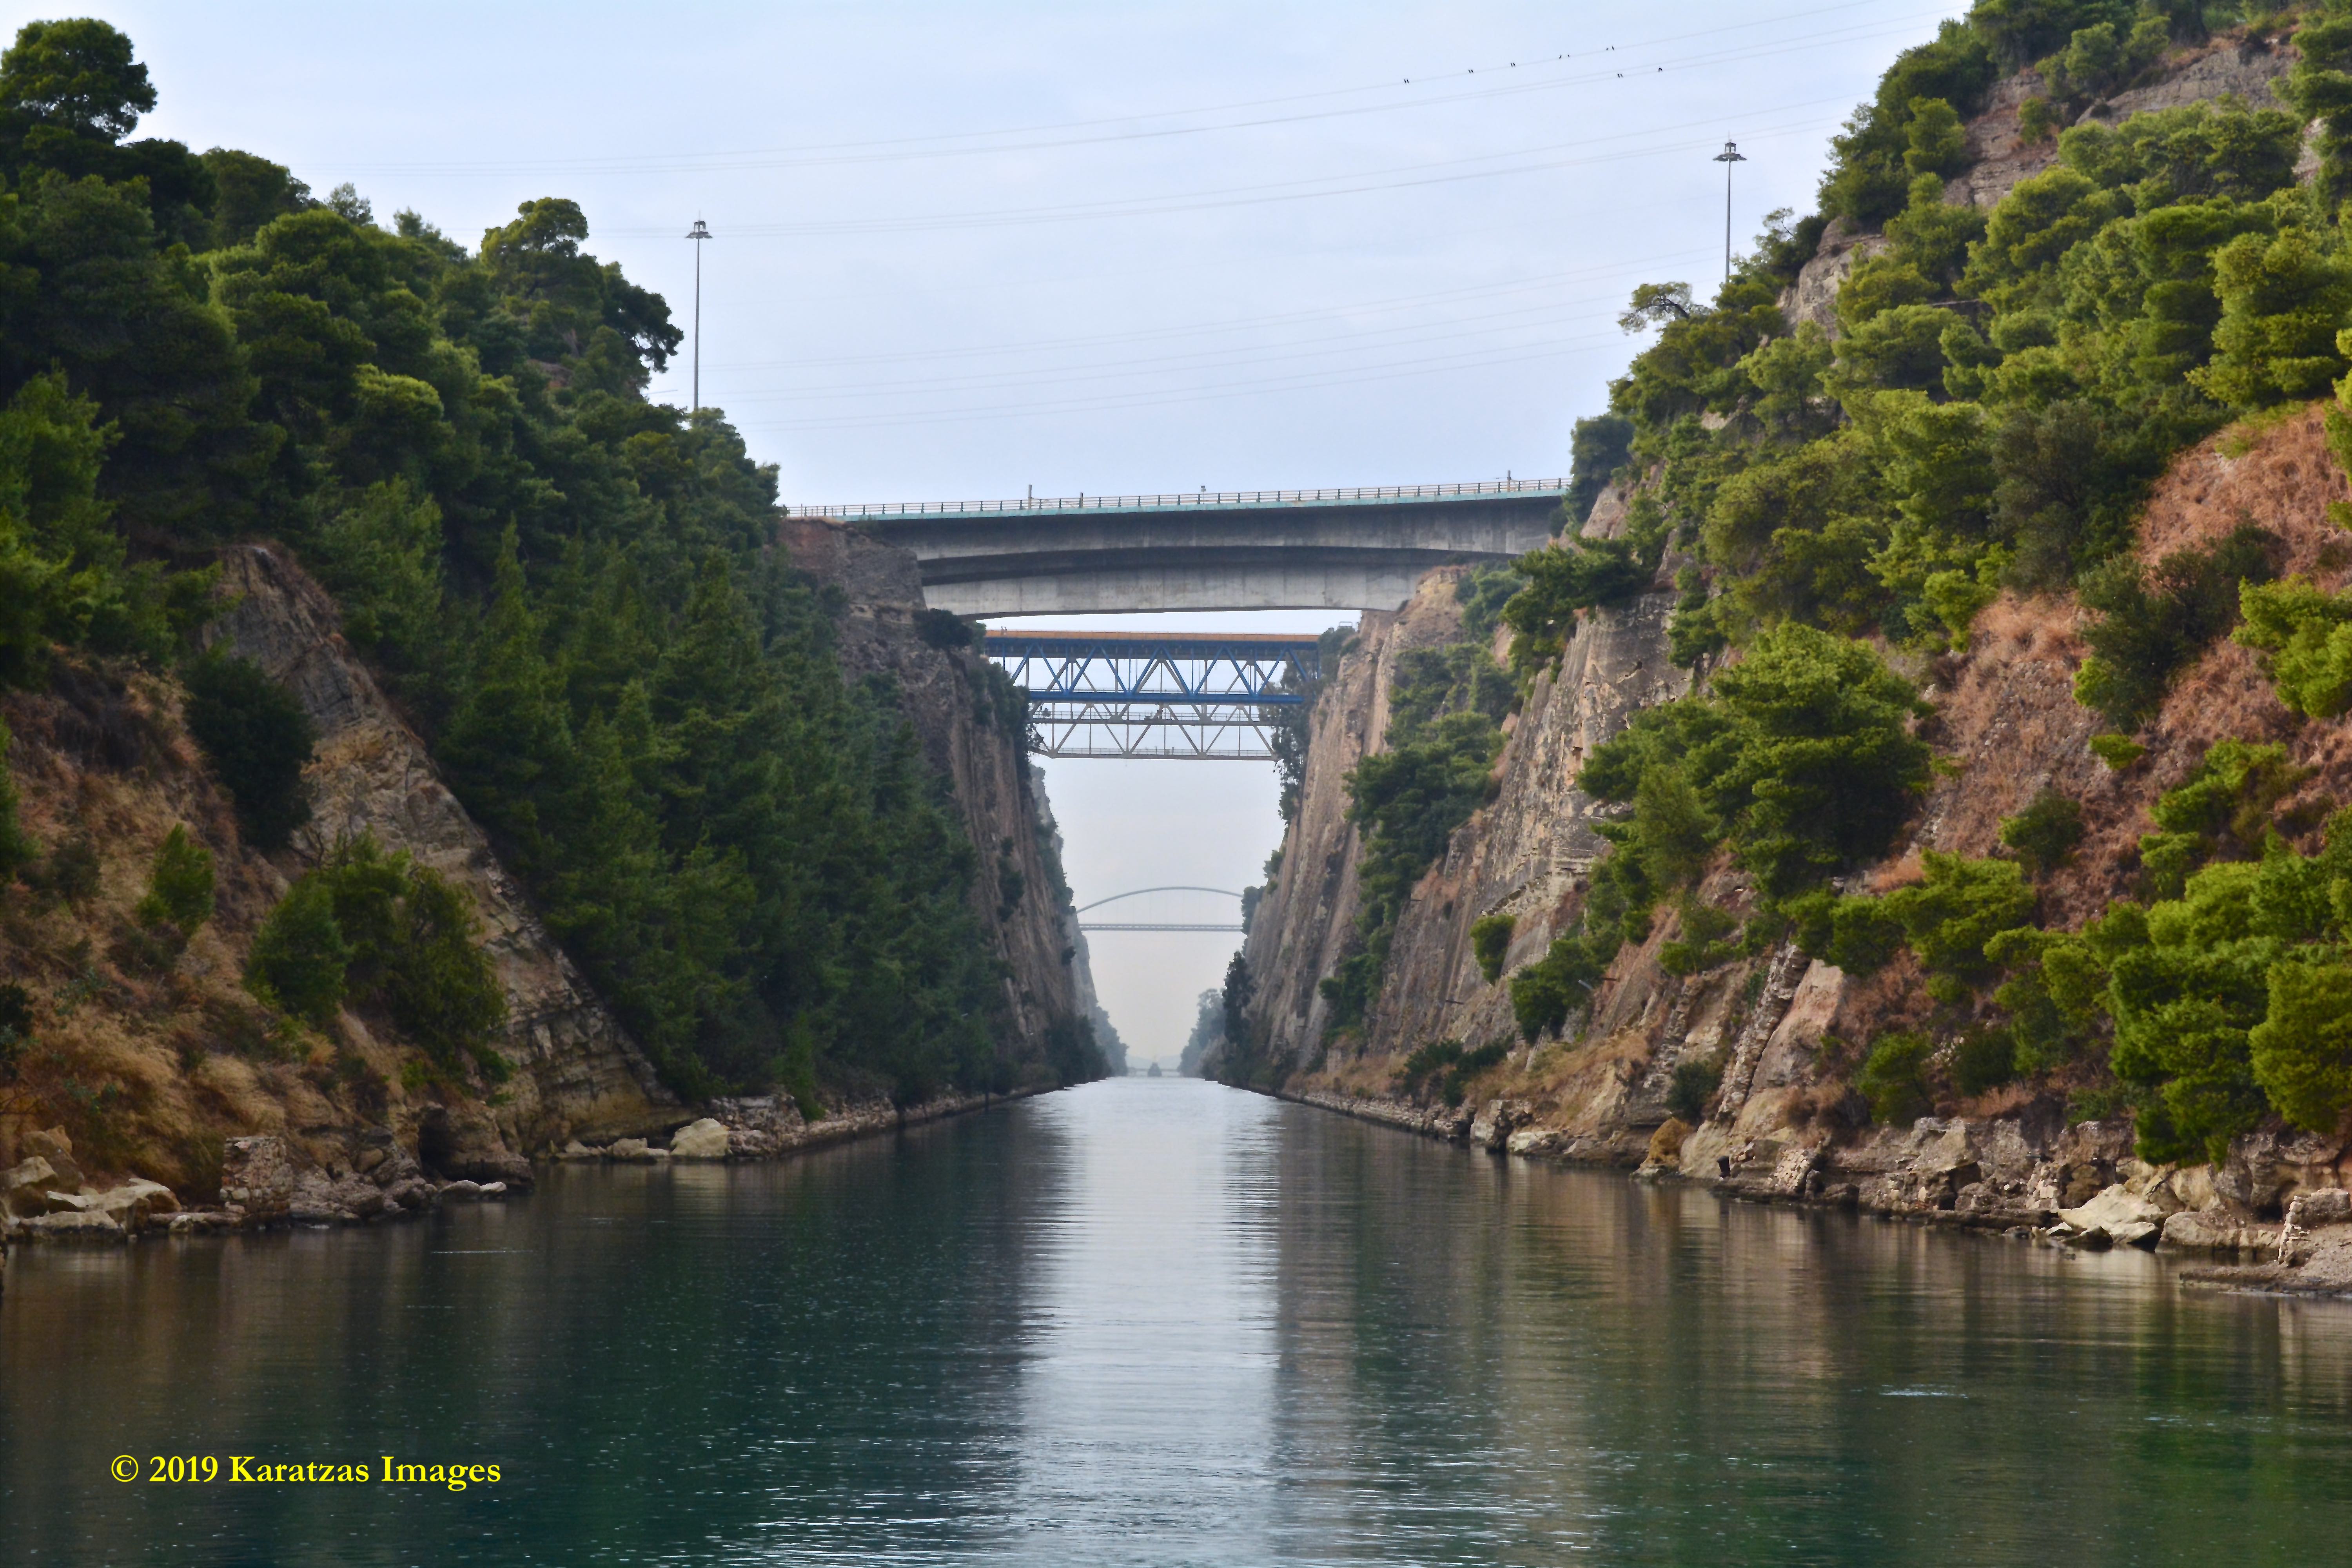
Crossing westbound the Corinth Canal with the railway and motorway crossings clearly visible overhead. Image credit: Karatzas Images
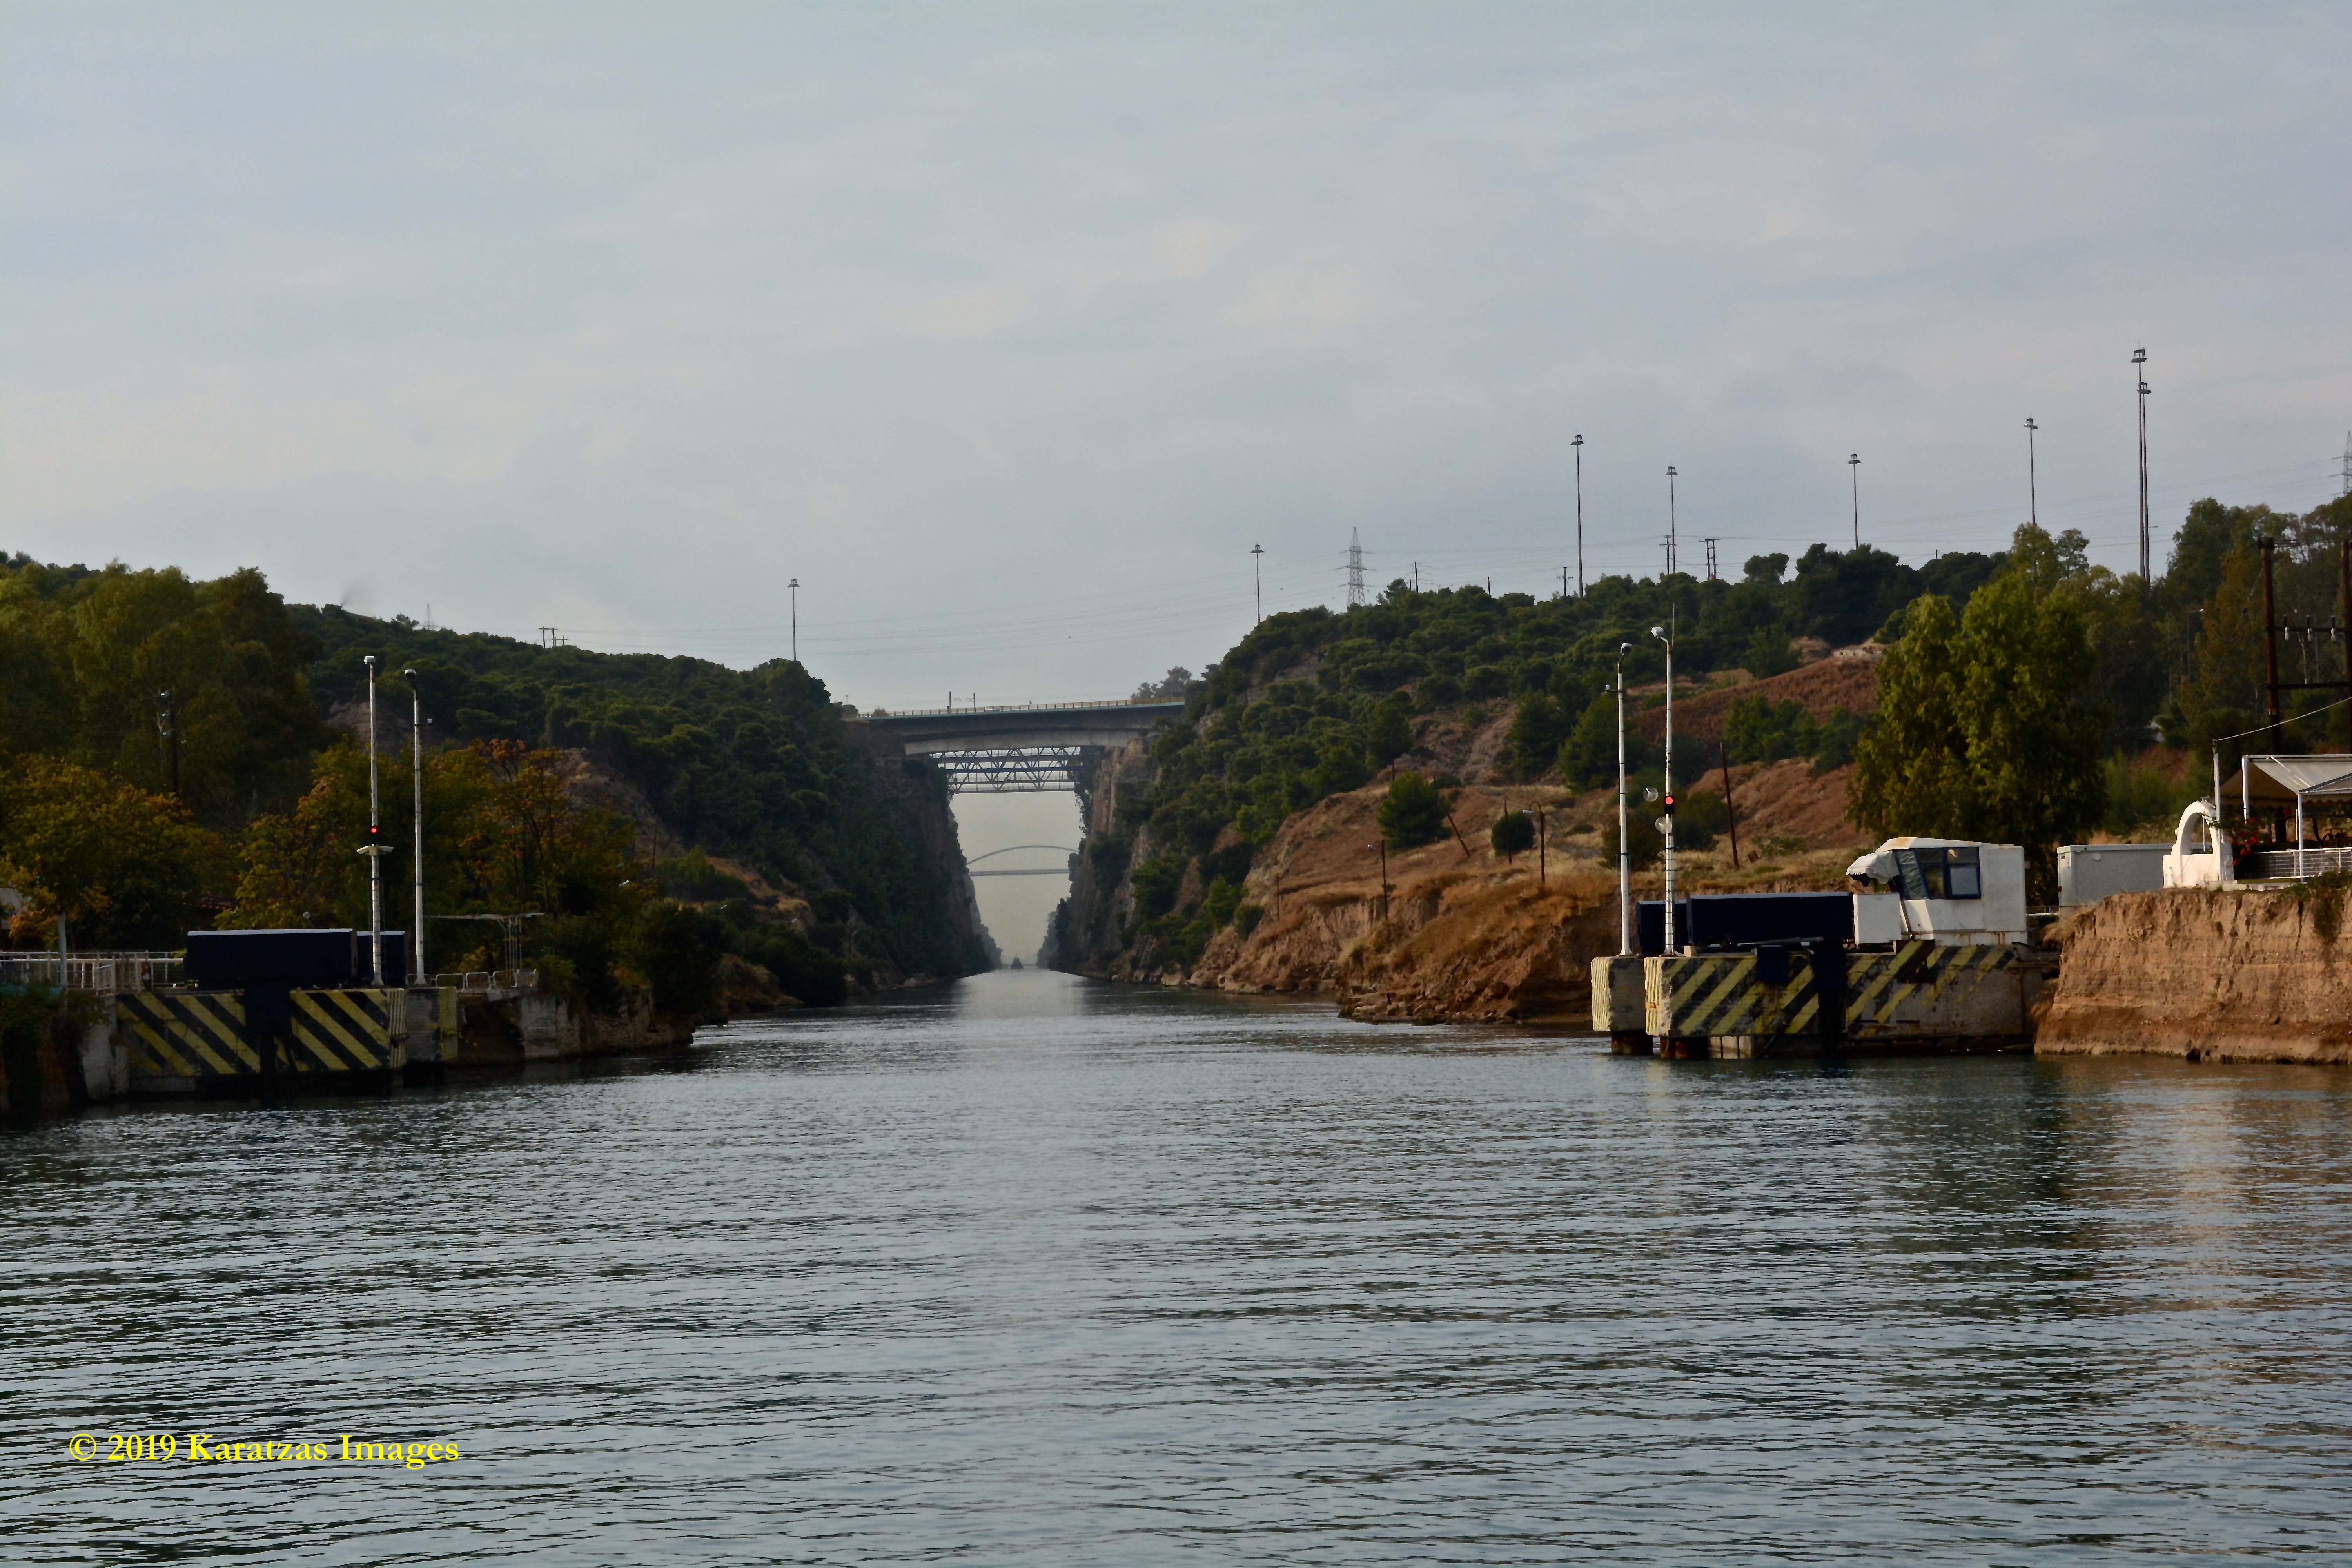
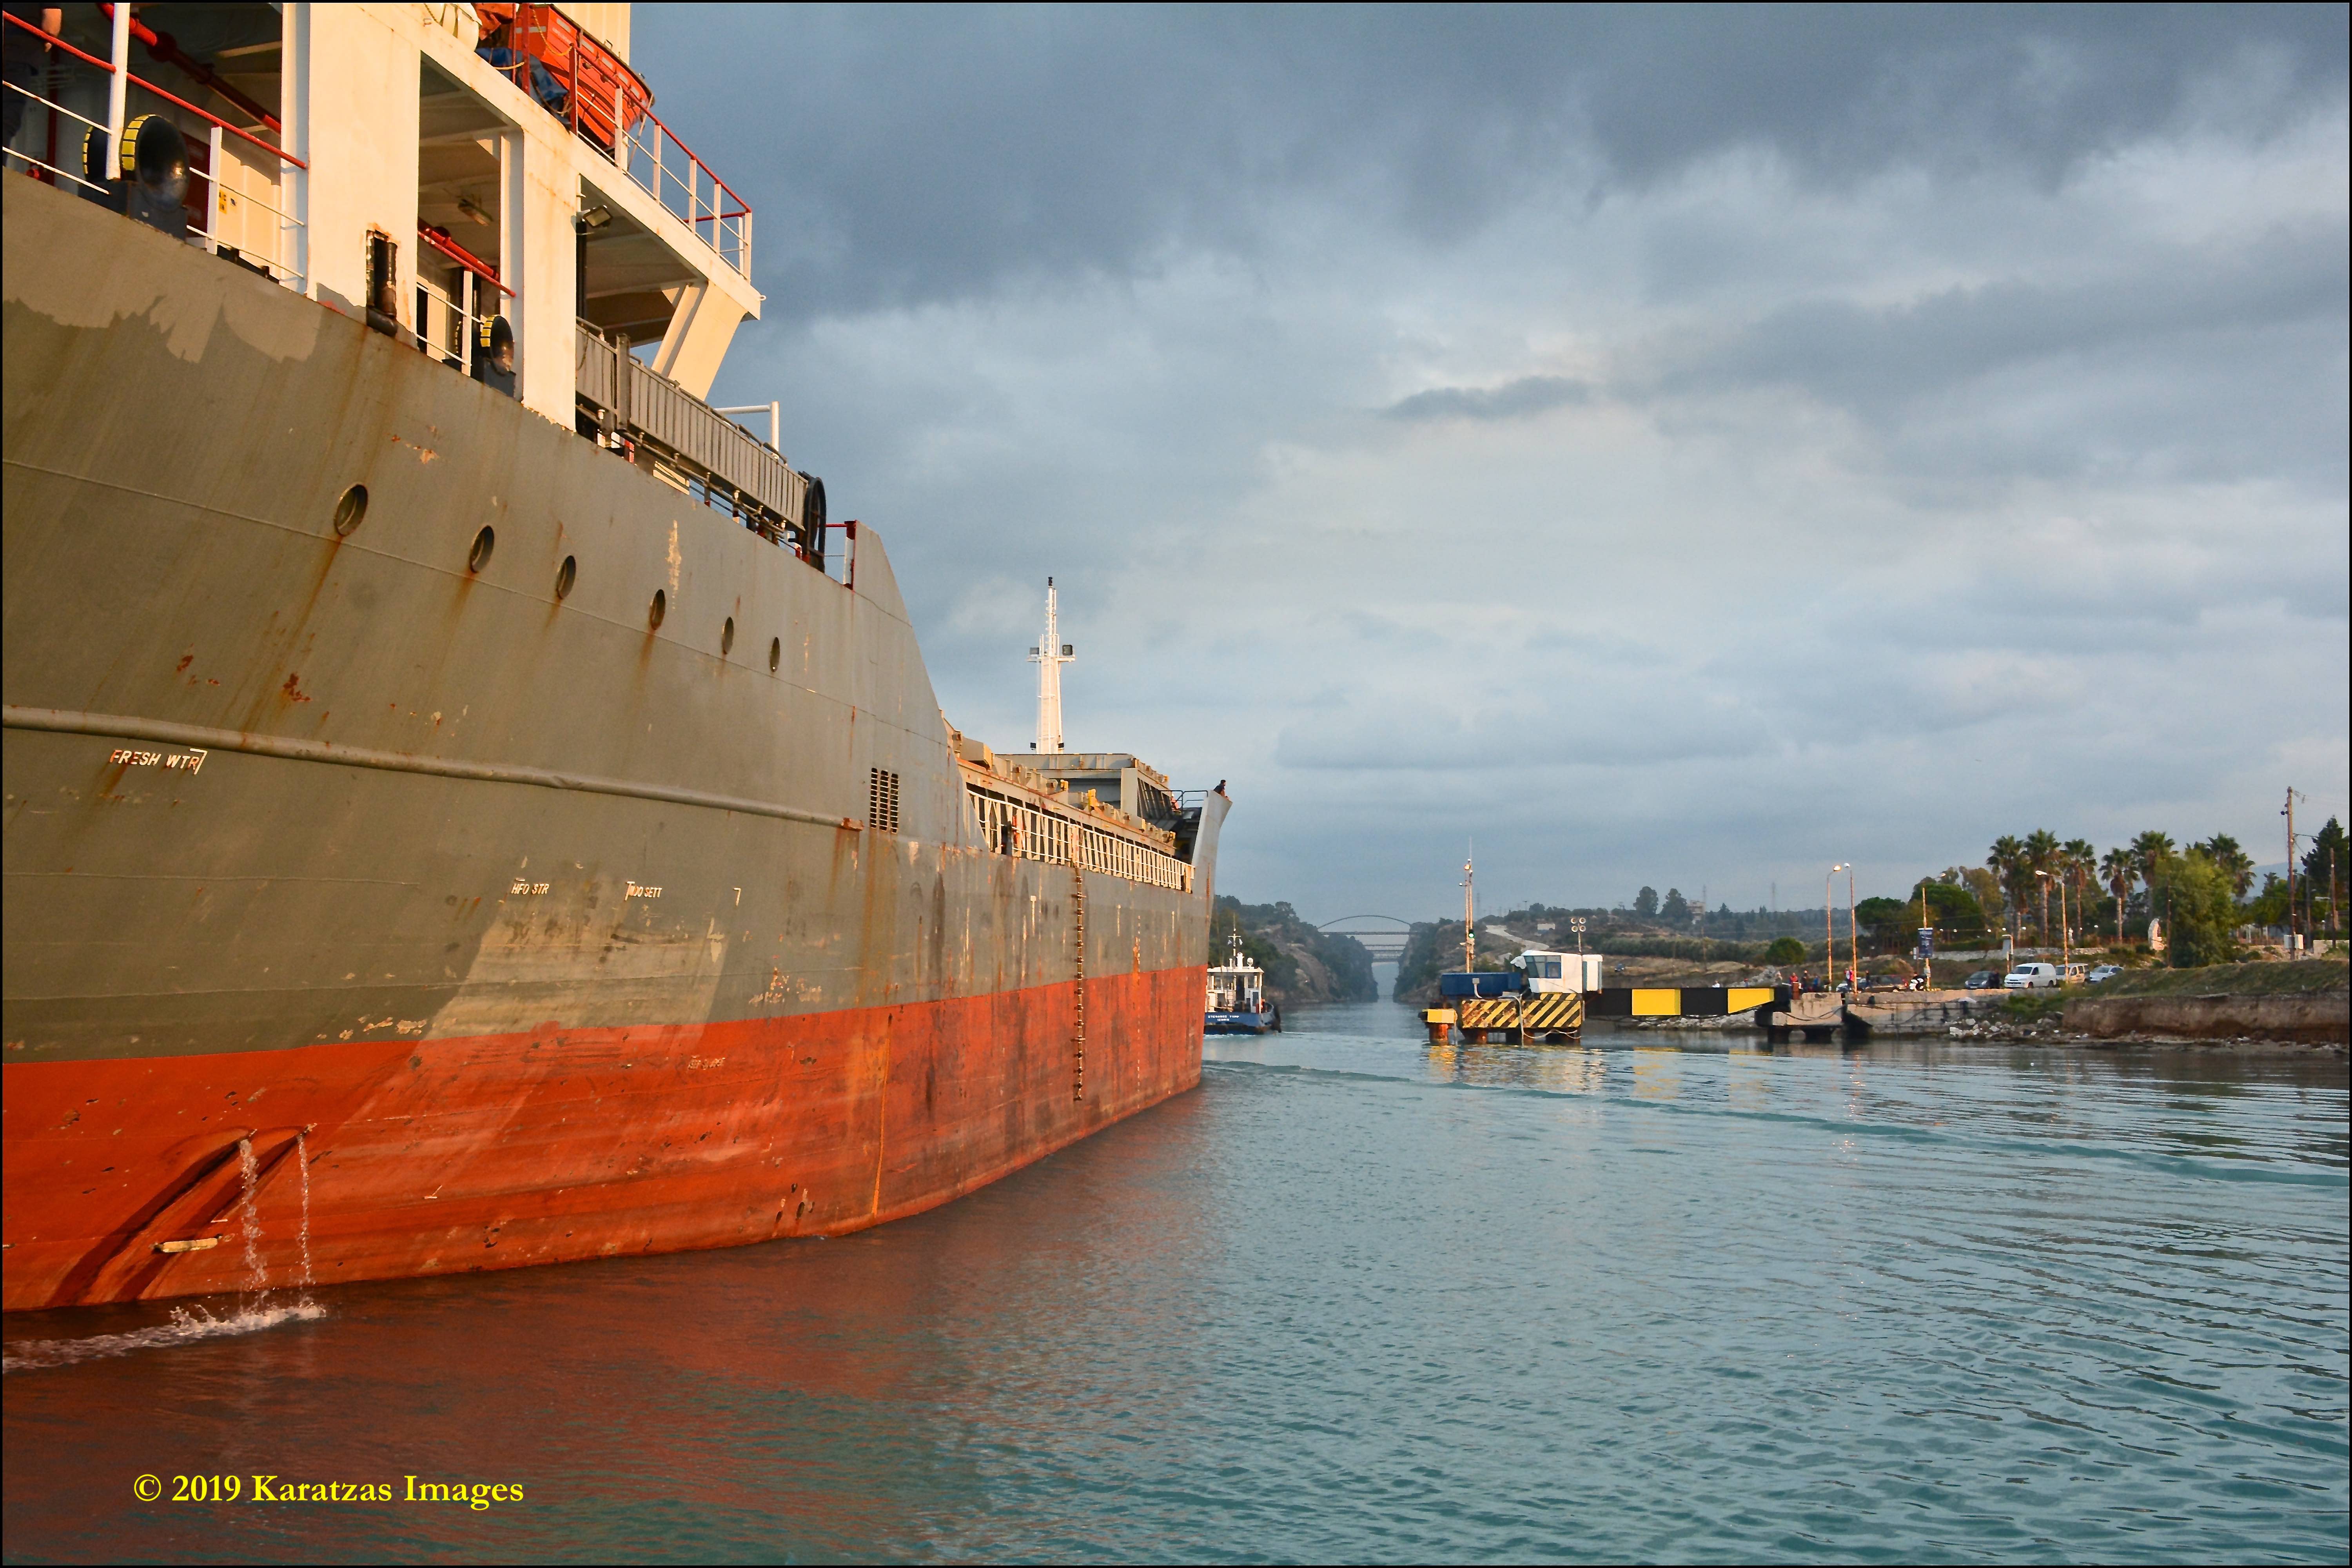
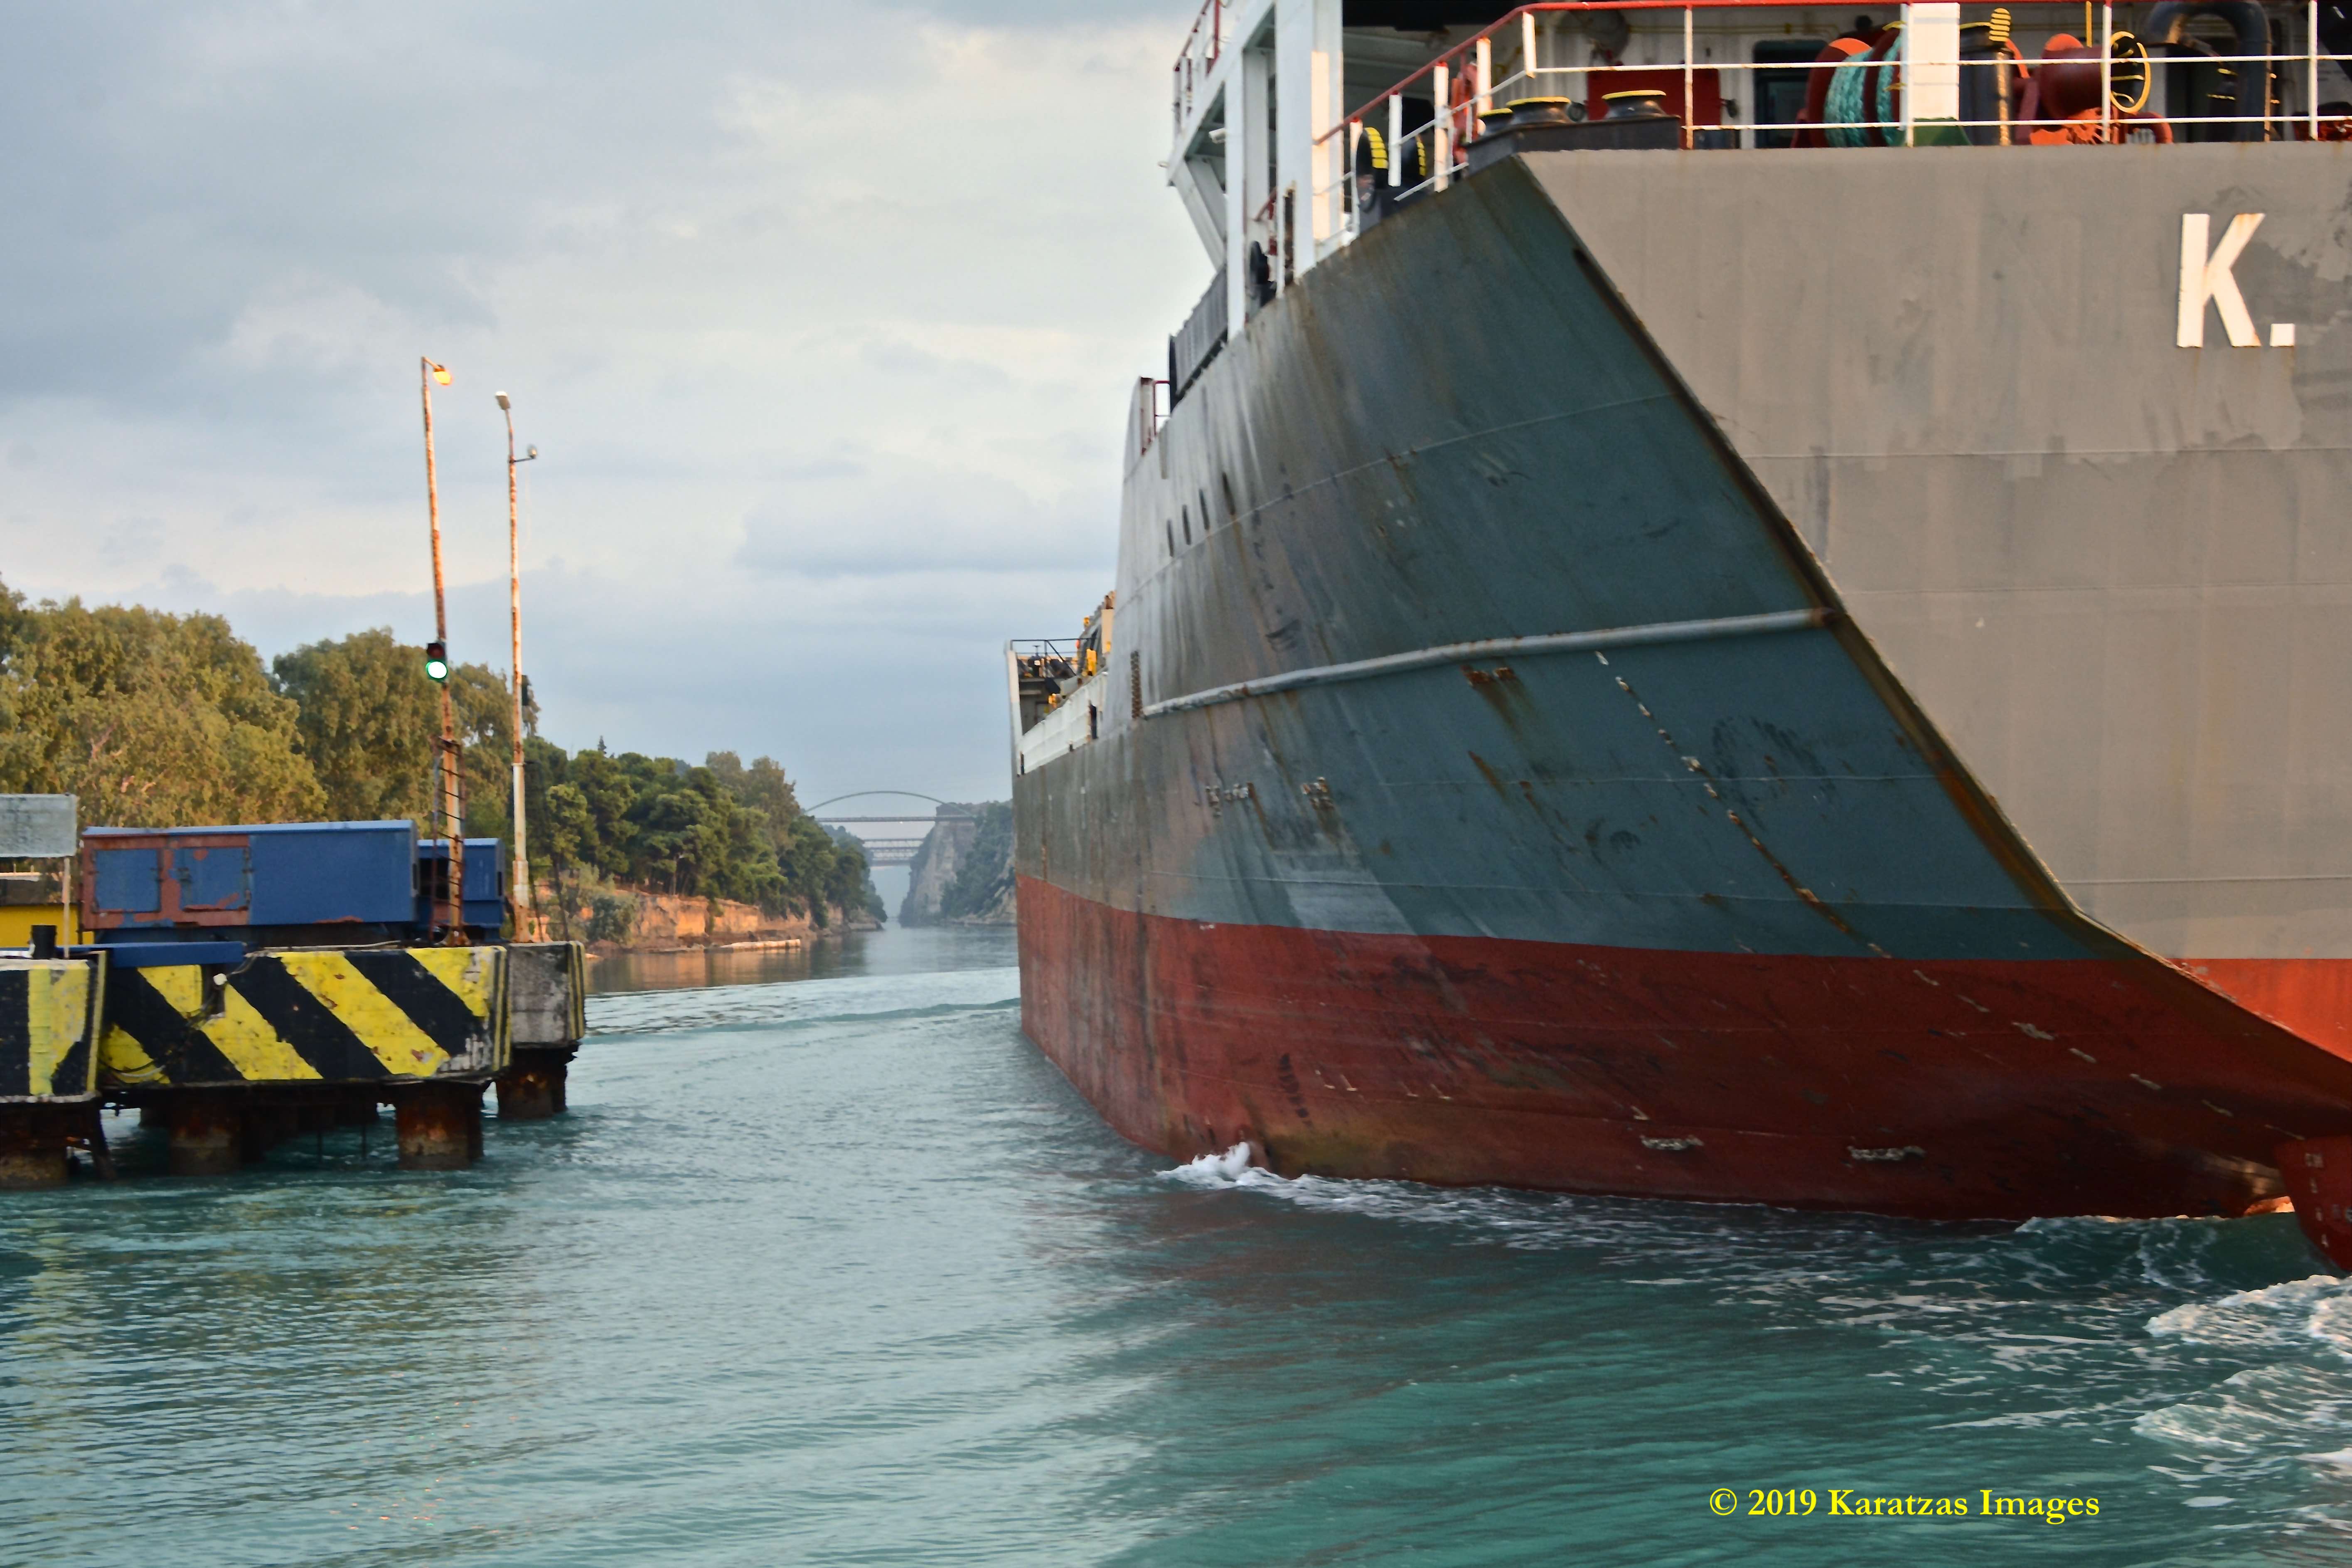
Approaching the Corinth Canal at the Isthmia Harbour (east end of Canal, in the Saronic Gulf and Aegean Sea). The pillars for sinking bridge to accommodate the local traffic are clearly visible, as well as the railway and motorway crossings over the Canal. Image credit: Karatzas Images
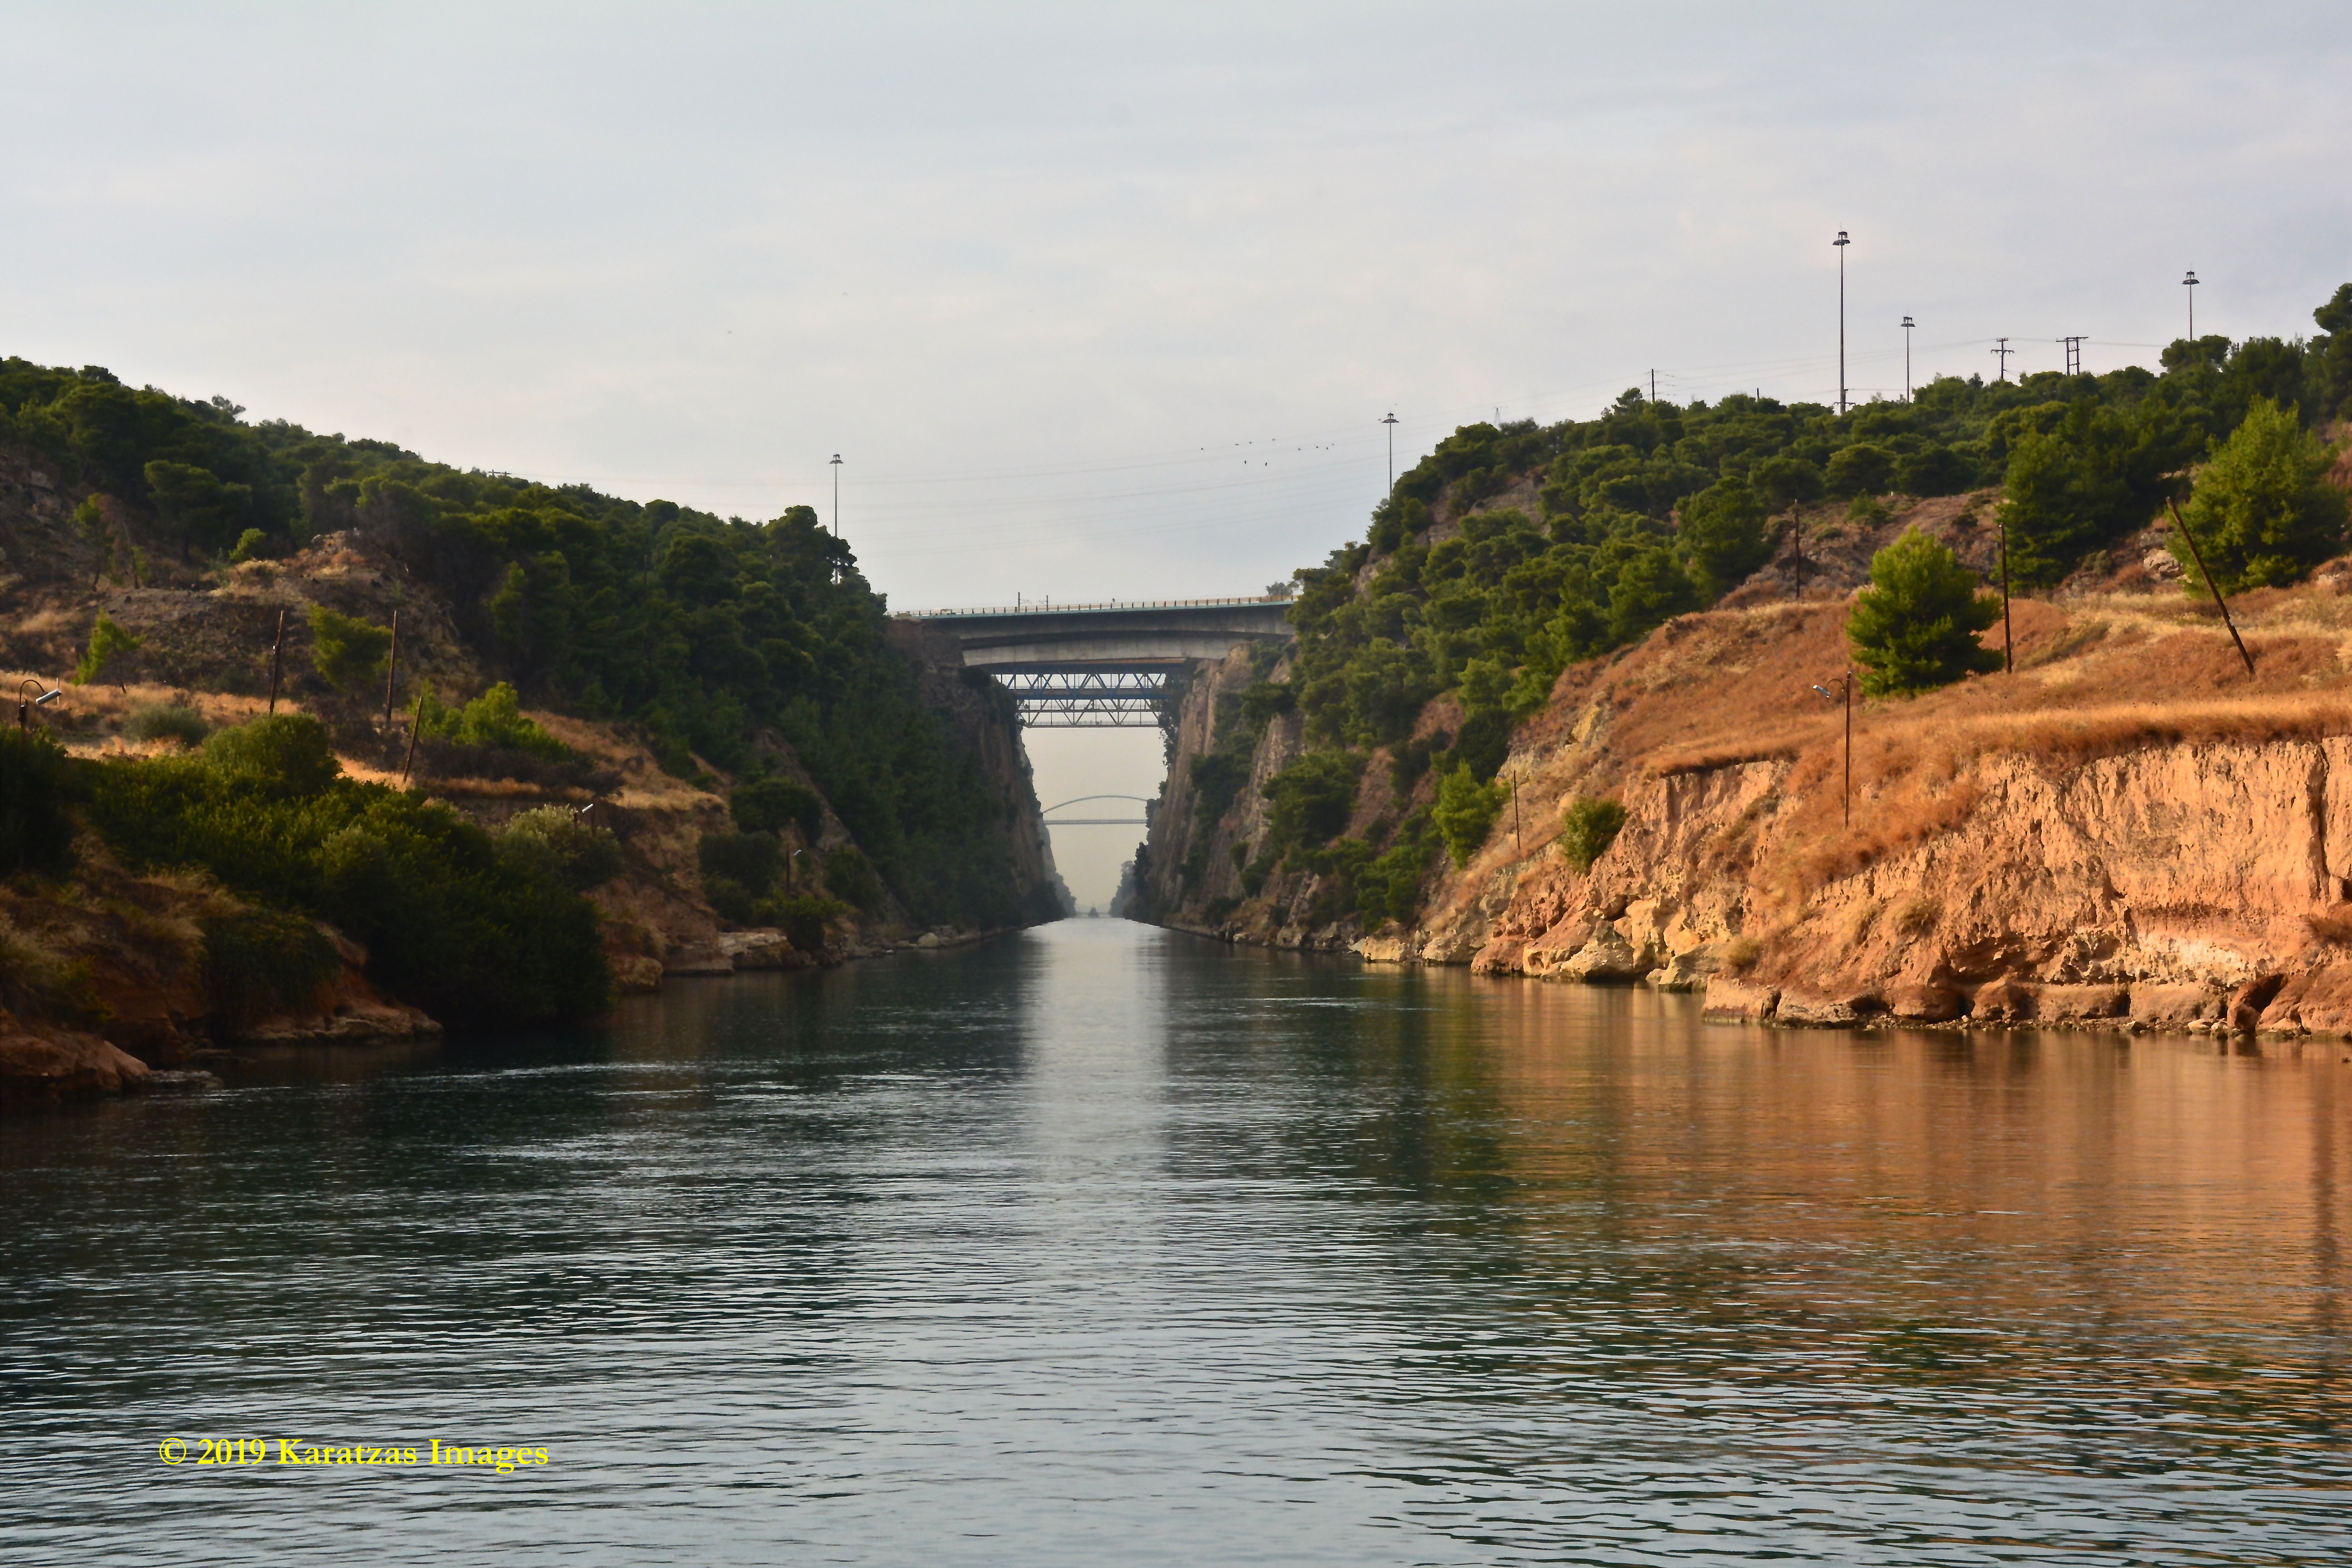
Approaching the Corinth Canal at the Isthmia Harbour (east end of Canal, in the Saronic Gulf and Aegean Sea). The railway and motorway crossings over the Canal are clearly visible. Image credit: Karatzas Images
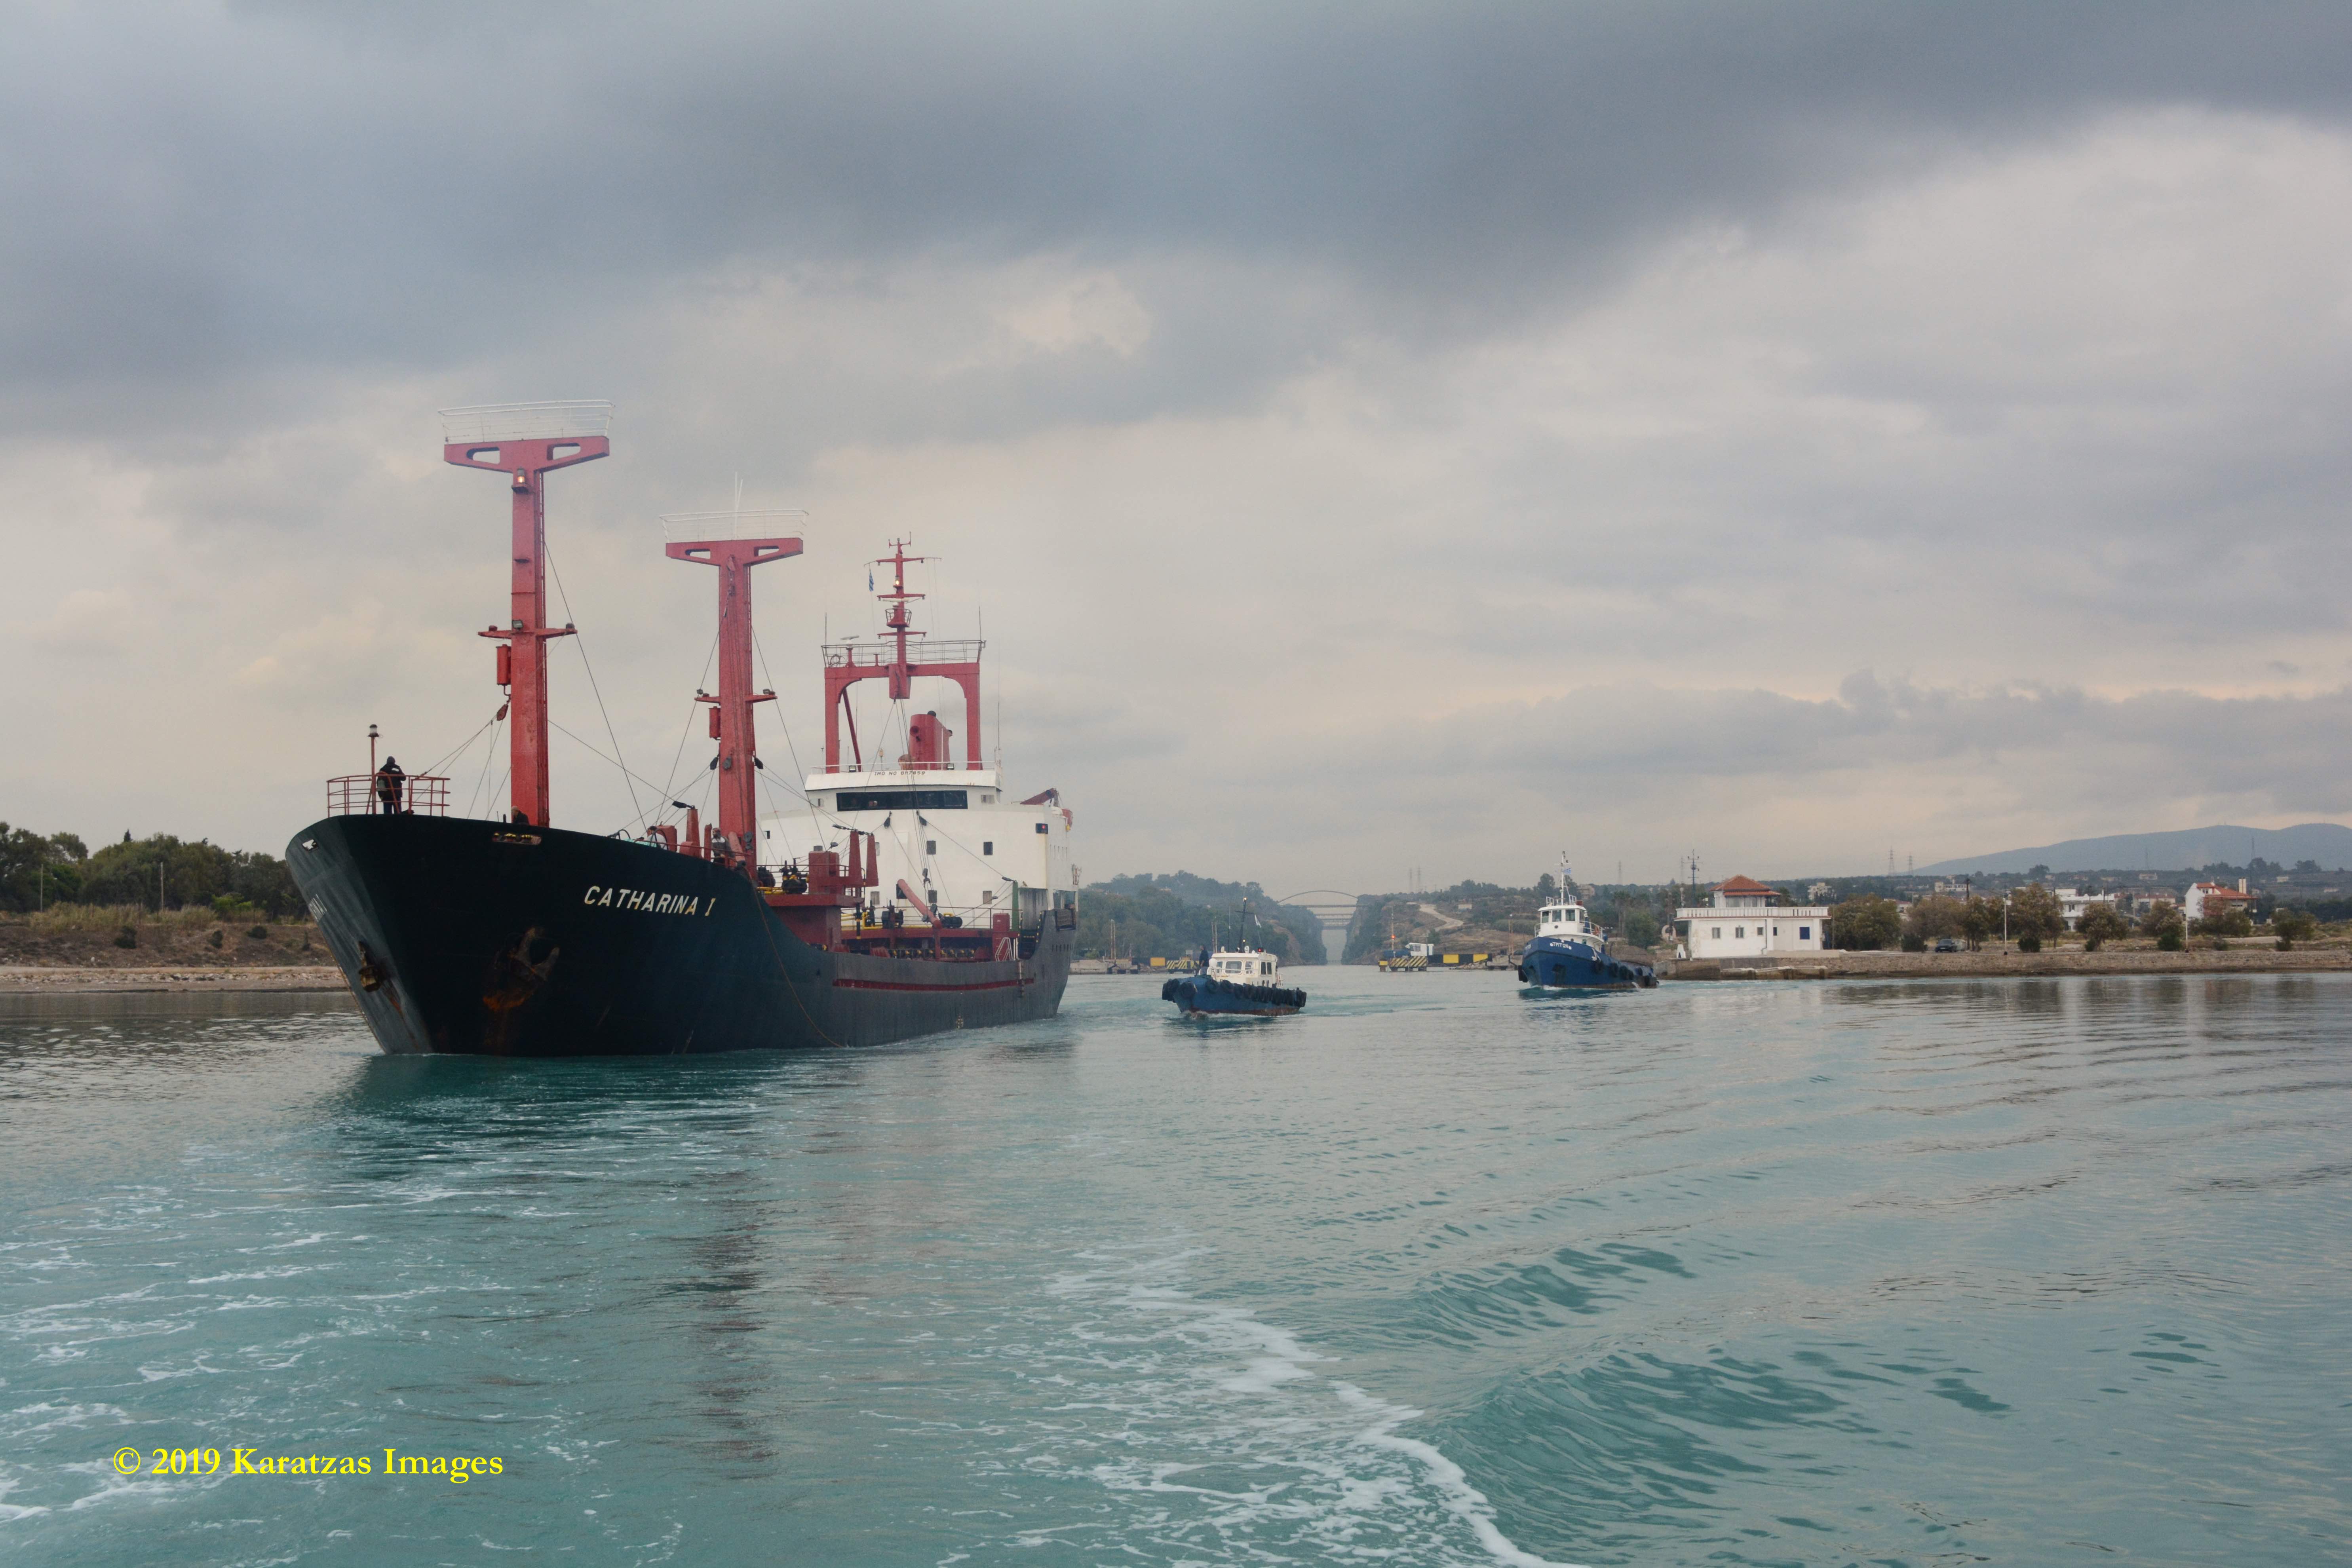
Having successfully crossed westbound the Corinth Canal (and having saved appr. twelve hours of sailing time), a small drybulk vessel originating from the Black Sea and destined for the Adriatic Sea, emerges on the west end (Poseidonia) of the Corinth Canal. Image credit: Karatzas Images
© 2013 – present Basil M Karatzas & Karatzas Images. All Rights Reserved.
IMPORTANT DISCLAIMERS: The purpose of this blog is for entertainment and information purposes. Vessel description(s), if any, is/are provided in good faith and believed to be correct and accurate but no assurances, warranties or representations are made herewith. Any vessel description(s) is/are provided for entertainment purposes only. We assume no responsibility whatsoever for any errors / omissions in vessel description.
Access to this blog signifies the reader’s irrevocable acceptance of this disclaimer. No part of this blog can be reproduced by any means and under any circumstances, whatsoever, in whole or in part, without proper attribution or the consent of the copyright and trademark holders of this website. To purchase rights or merchandise of high resolutions images and art presented here, please visit www.karatzas.nyc or email < info [at] BMKaratzas.com >. Thank you for the consideration.